recipes

recipes

  • Stargate Pie


    I've got a bit of a meringue obsession going this year, since I've had so many eggs coming in from the new hens. Organic eggs around here easily cost $6 a dozen, and at first I hoarded my eggs like gold, but after they piled up and took over the refrigerator last fall, I found lots of ways to play with them. We don't eat a lot of sweets in this house, but we do like chocolate pie. There is only one cup of sugar in the whole pie, and meringue is really good for protein, so why not? About once a month I have a little fun with it.
     
    This post isn't about chocolate pie itself, but in case it makes you hungry for one, here's the recipe I use. I just buy premade piecrust, cook and cool it ahead of time. The pie part is a very thick pudding, for which I use a stainless steel saucepan and a wooden spoon. It's quick and easy, but you can mess it up. I've thrown out puddings and started over a few times because I'm so easy to distract, but it's a cinch to start over.
     
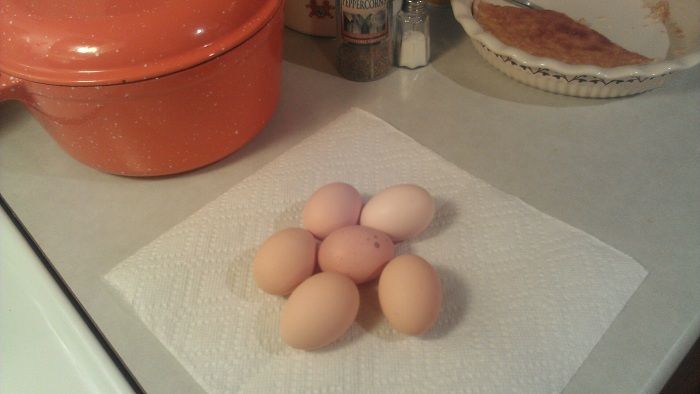
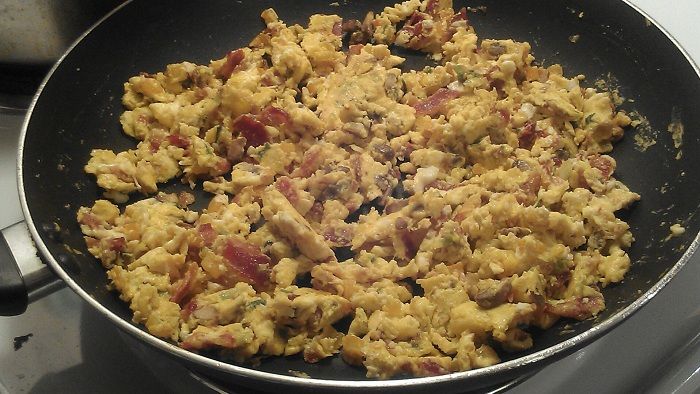
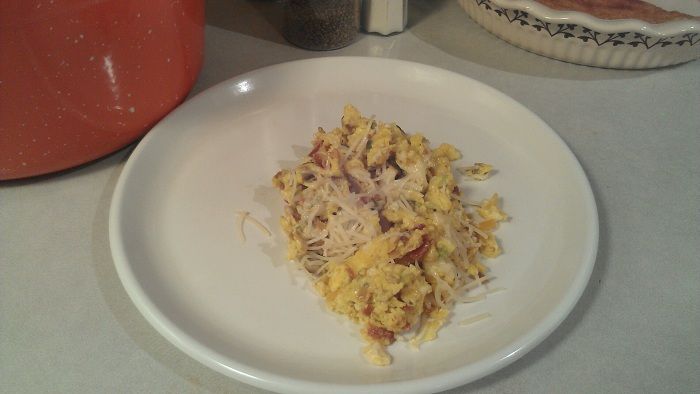
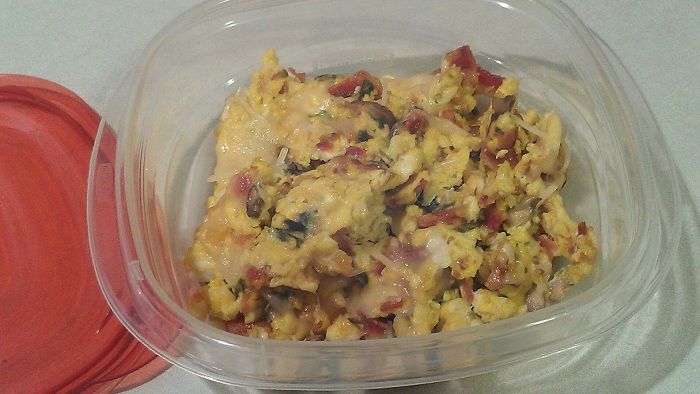
    First thing you do after you bake the crust is separate your eggs, yolks into a small bowl, whites into a bigger bowl to use with a mixer. Be prepared to waste a few eggs if you're not very good at separating eggs, perhaps keep a third bowl nearby for scrambled eggs later. I like using my hands, and it's messy, so put paper towel down on the counter to set the shells on and hold the drippies at bay, scoops up so easy when you're done. Cream pie recipes call for different amounts of eggs, this one originally only called for 3, but I find it holds better with 5, and also bumps up the protein value in your pie. Try not to get any yolk in the whites bowl, and keep the yolk bowl as free of whites as possible. If a yolk breaks and everything goes wrong, that's what your third bowl is for if you can't bear to throw away eggs, you can use those later for breakfast.
     
    In your saucepan put 1 cup of sugar, 1/3 cup of flour, 4 T of cocoa, and 1/4 t salt, stir all that up till it looks sifted. Slowly stir in 1 cup of milk, doesn't have to be perfect, just make sure it's all wet and there aren't any big dry lumps lurking at the bottom. Turn the heat on medium. This bit is important. Don't go higher than medium (tempting if you feel impatient) because milk scalds so easily. Stir, keep stirring, keep the bottom from turning into a super thick sludge while the top stays runny. The key is to keep it all the same consistency while it cooks, keep the thickening up as homogenized as possible.
     
    It really doesn't take long for that to thicken up and start to 'glop' in a weird thick 'boil', at which point remove it from the heat and keep stirring for another 30 seconds till it settles down so it doesn't burn at the bottom. I'm right handed, so with a fork over my yolk bowl on my right and the spoon over the pudding pan on my left, I drizzle little bits of pudding into the yolks while I quickly whisk them with the fork. It's like walking and chewing gum at the same time, you get the hang of it. You have to keep the yolks moving so they don't have a chance to 'cook' and lump up like scrambled eggs. Heat denatures protein, breaks the molecular bonds and makes them change shape and get stiffer, so to keep the yolks more liquidy, keep them moving. All the chefs on the food channels will tell you this is tempering the yolks, and that only means bringing up the heat slowly so you can control their texture, so next time you hear that word, you'll know what it means. Whisk in several spoonfuls of the pudding till the yolks are all chocolaty looking, then pour the bowl of eggs into the pudding pan while stirring quickly with the wooden spoon. If you get egg lumps, either get them out or throw this all away and start over. Cream pie with scrambled egg lump texture is kinda gross.
     
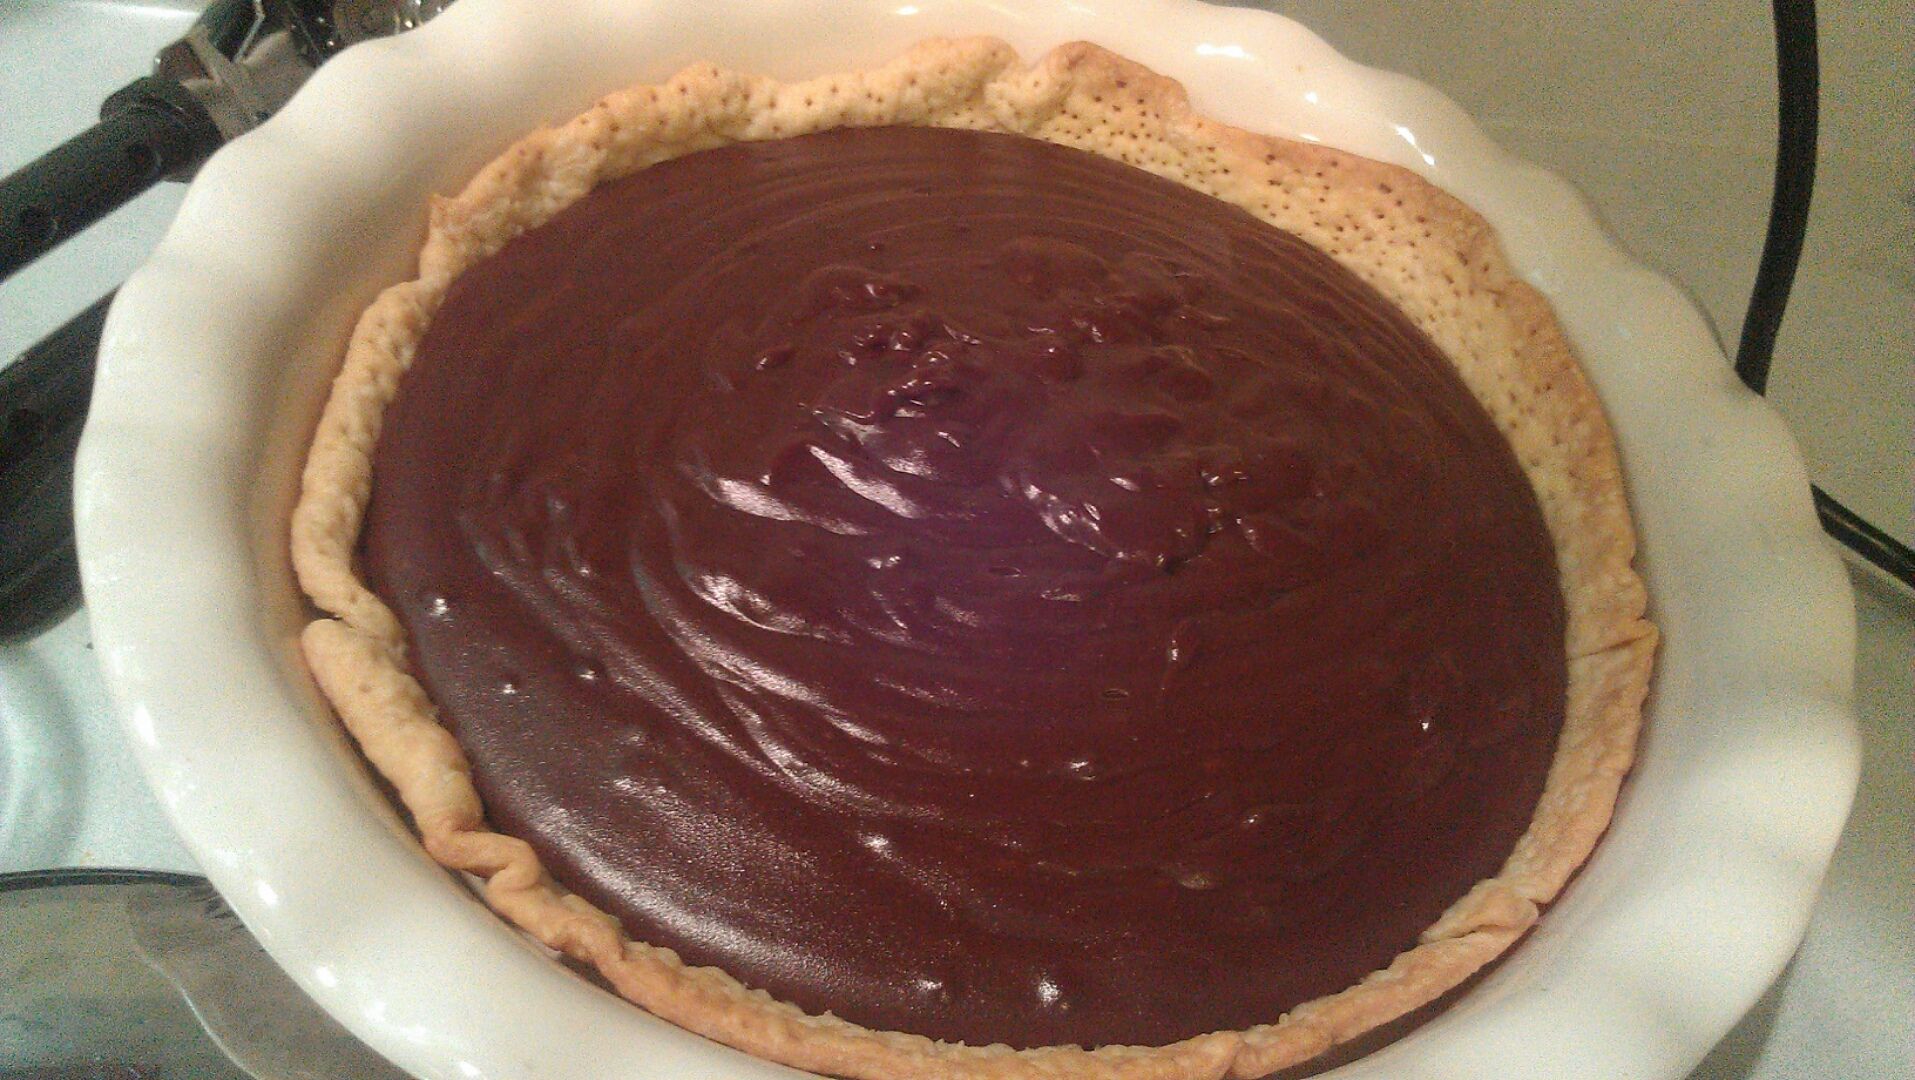
    Put the pan back on the heat and keep stirring. The gloppy boil will happen a lot faster this time, and you don't want it happening very long at all, just make sure it gets good and hot for about a minute or so while you stir, then take it back off the heat and stir in a T of butter and a splash of vanilla. Pour it all into the baked pie crust and set aside.
     
    All this just to get to the meringue.  
     
    Meringue is very temperamental, especially if you live in an area that is the least bit humid, but so what, it's still fun to eat and pretty on a pie. They say meringue works best if the whites are room temperature to start, but I haven't found any difference. Most recipes call for 1/4 t of cream of tartar in the whites before you start mixing, some use a dash of vinegar, some don't use either, but if you want to delve into experimentation-  How to make the perfect meringue | Life and style | guardian.co.uk But back to having fun! I use cream of tartar, I think it's more reliable and doesn't make it taste funny. Also I splash in a little vanilla, yum! So 5 egg whites, 1/4 t cream of tarter, 1 t vanilla, and set your mixer on a pretty decent speed. You'll be standing there a few minutes, and it will seem like forever because you're not doing anything else, but it still goes fairly quickly. Since I've been playing with meringue so much, I also add food coloring gel at the start, this time I squirted a gob of blue gel in. For those of you who have never made meringue, the rest is in pictures so you'll know you're not epic failing if you don't get that pretty fluff right away. Most recipes don't mention the nerves you get wondering if you're doing it right when it doesn't look at all like a picture in a book.
     
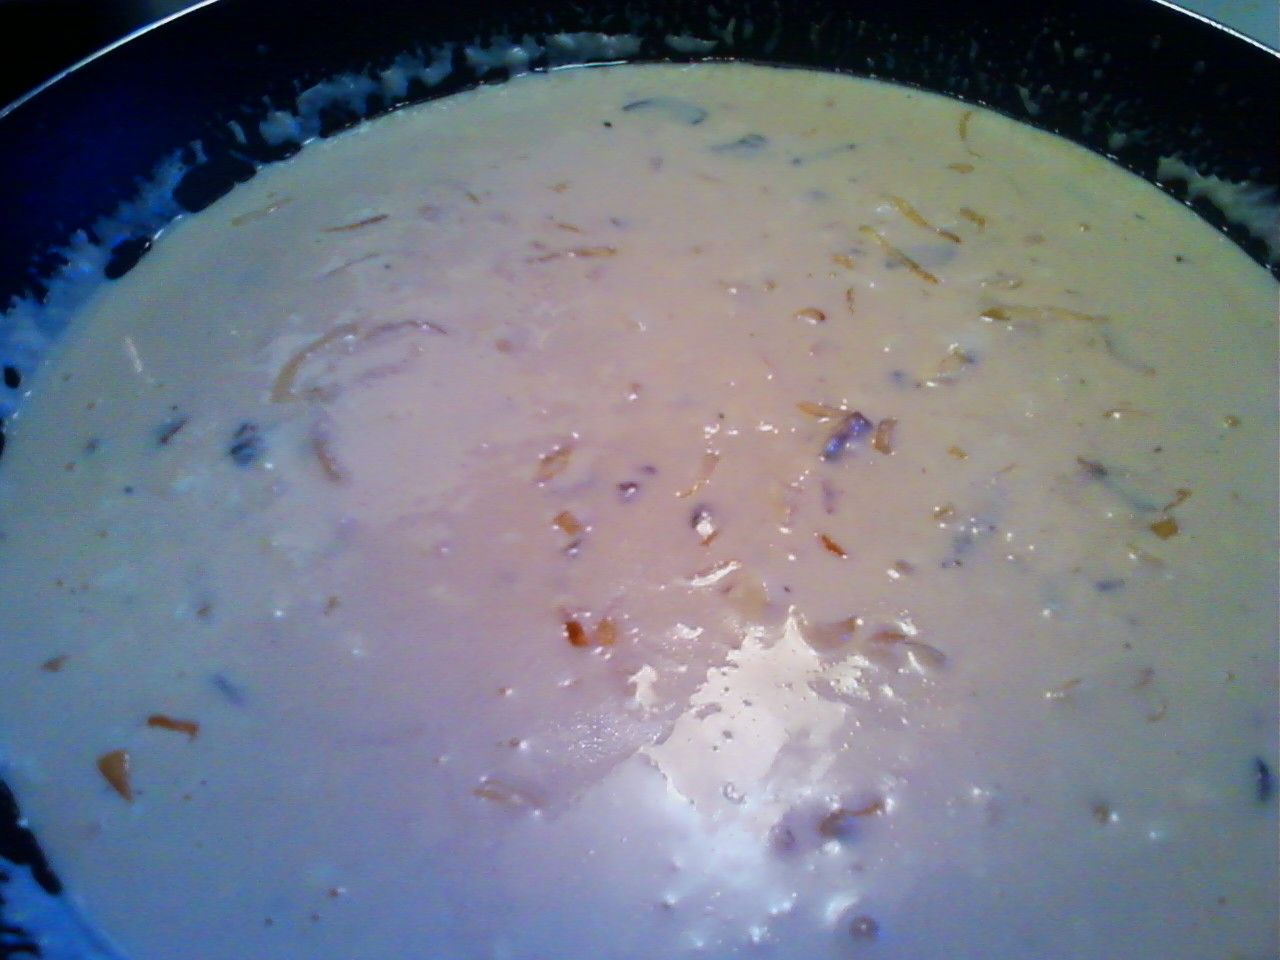
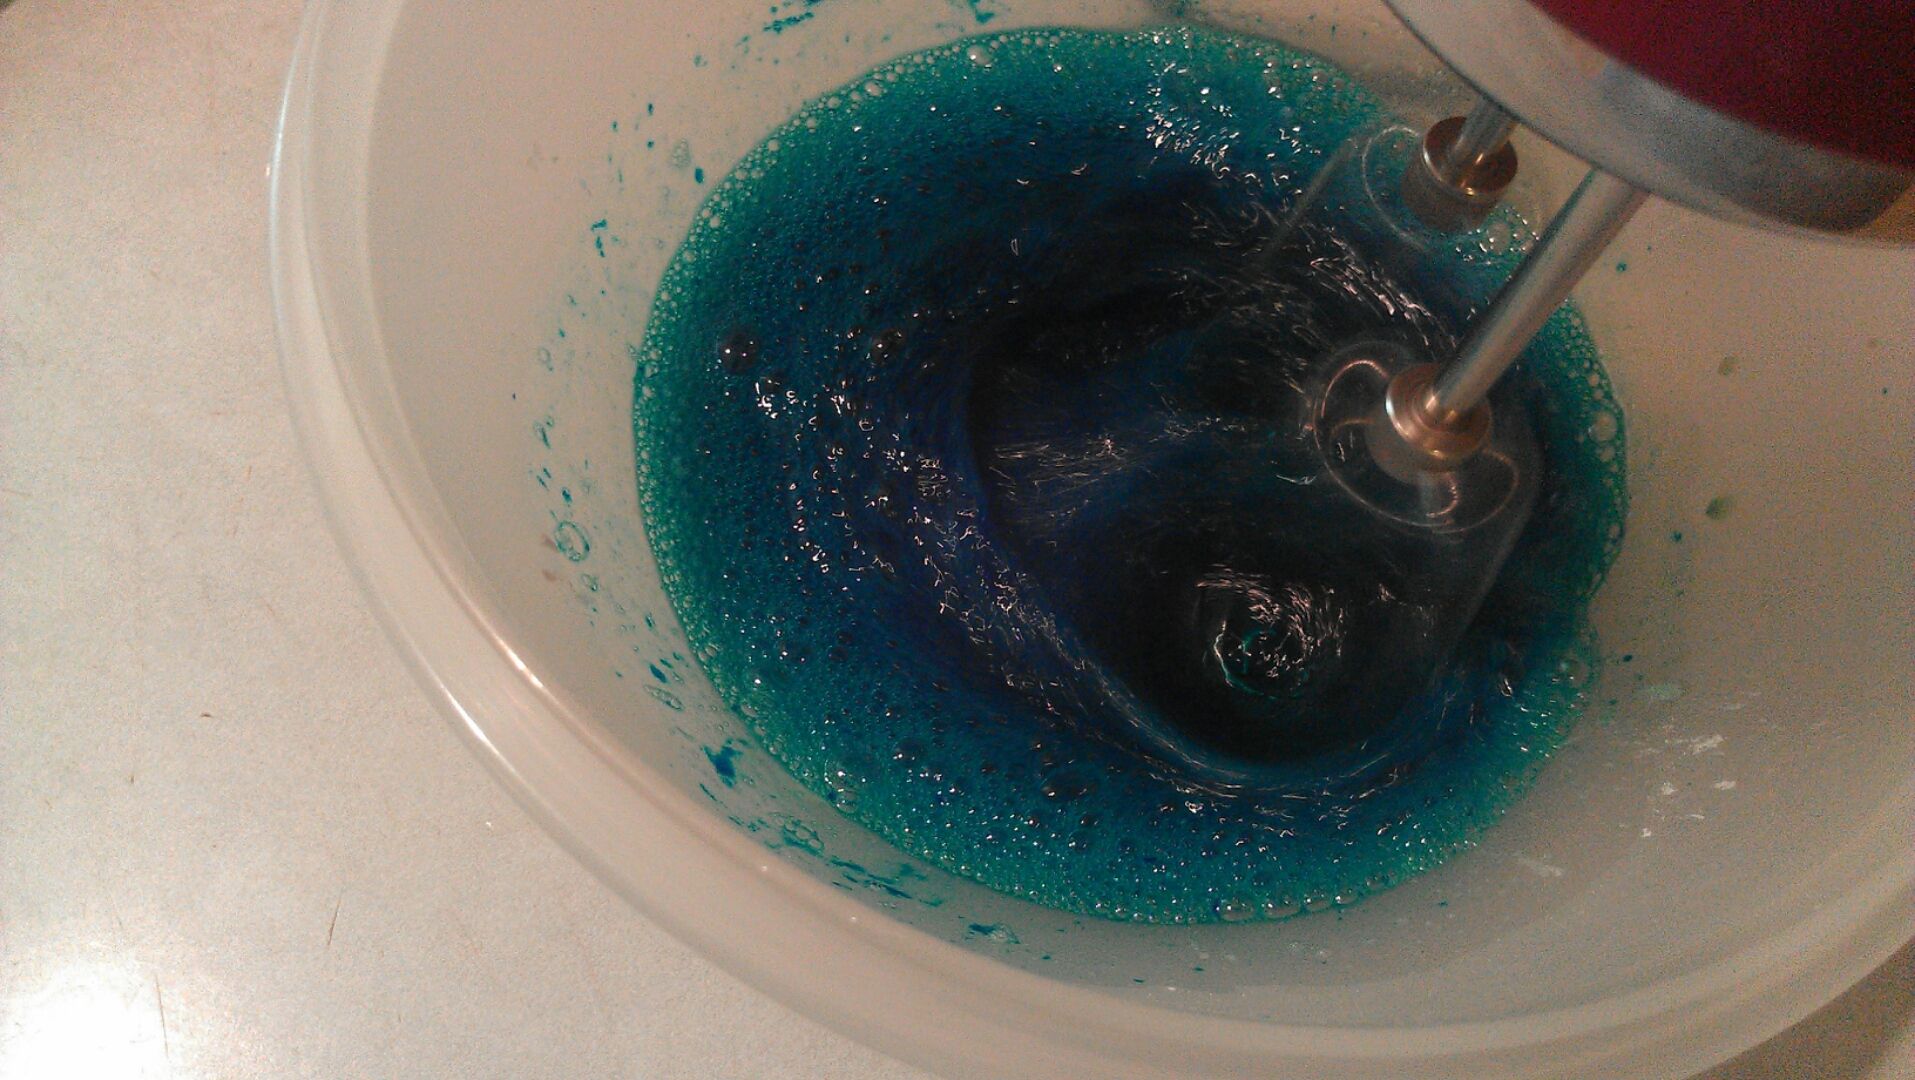
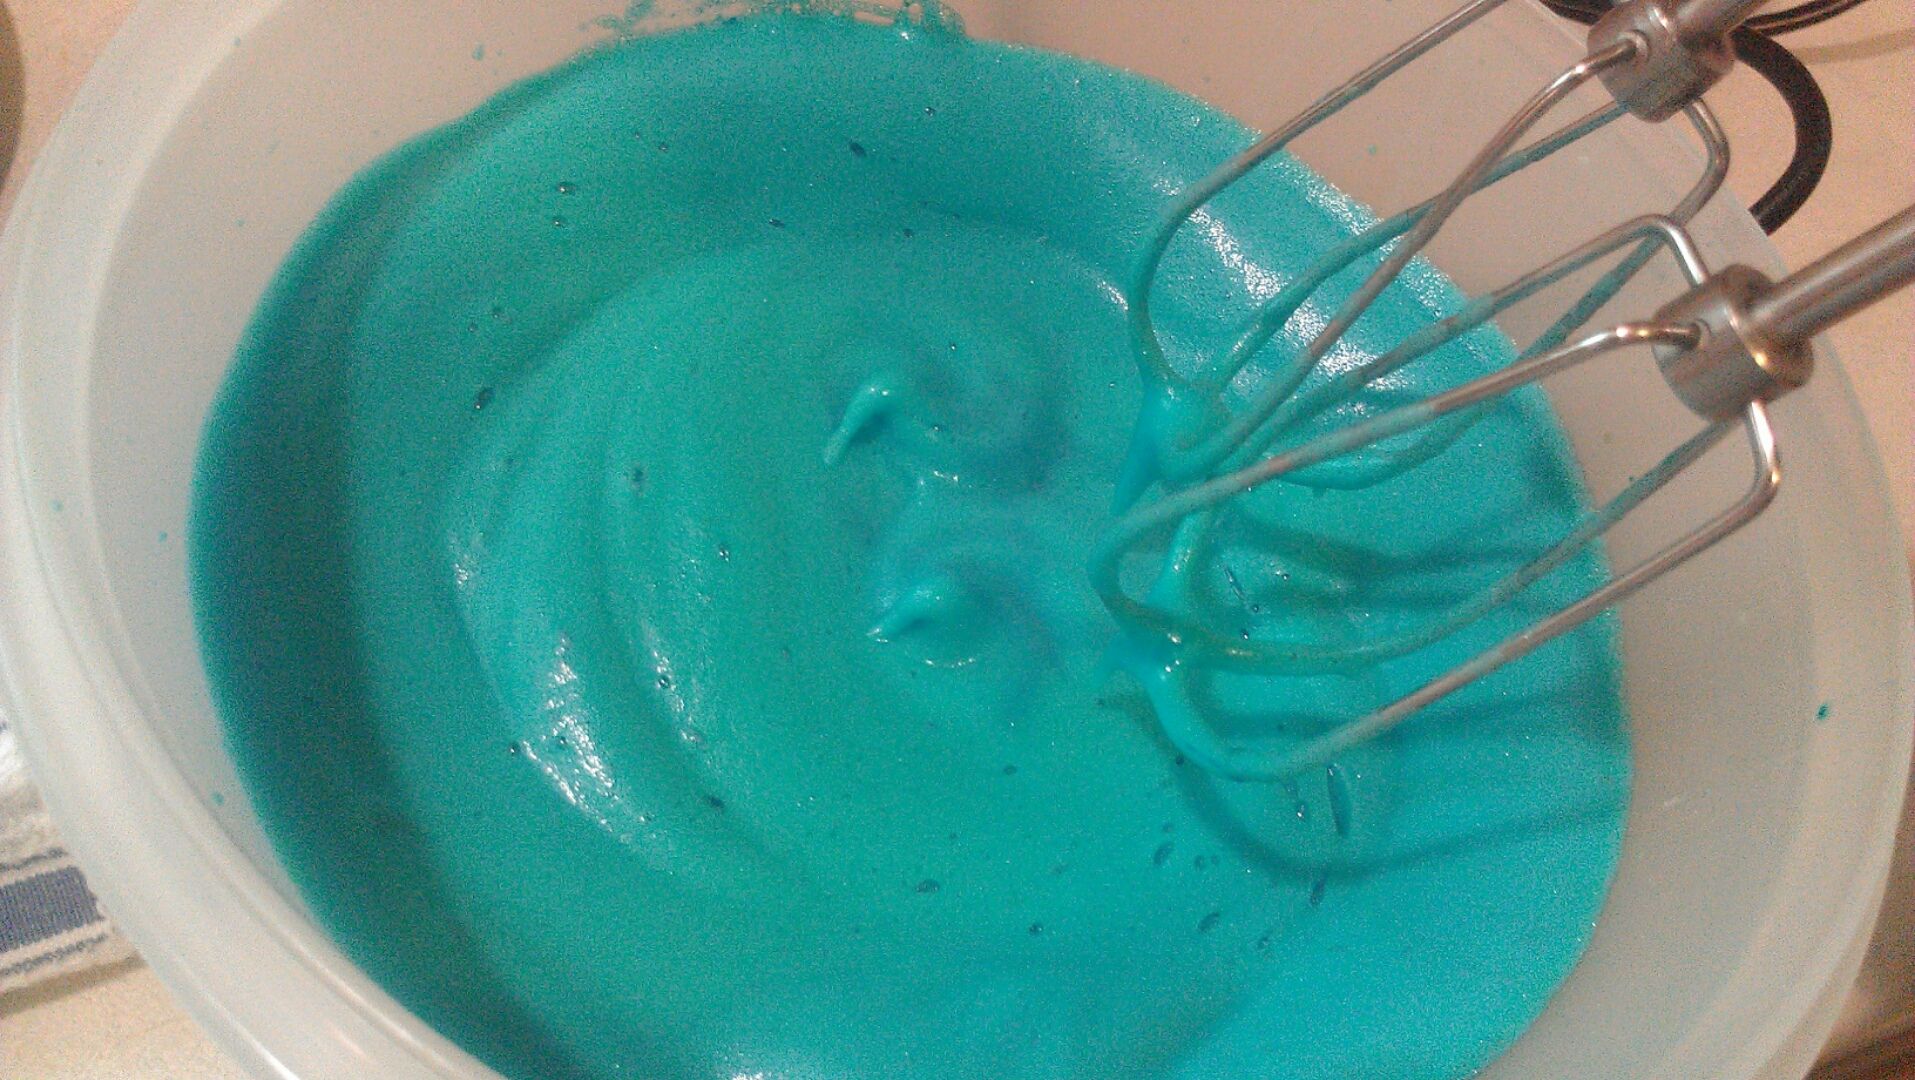
    Starting out it looks kinda like jello, doesn't it? When you don't put food coloring in, you still get this pretty froth going, that that is what you watch, the froth. It changes as you go, and once you've done this a few times, you can get pretty good at gauging how far into the whipping process you are as the froth changes. Right here it's very liquidy. 

     
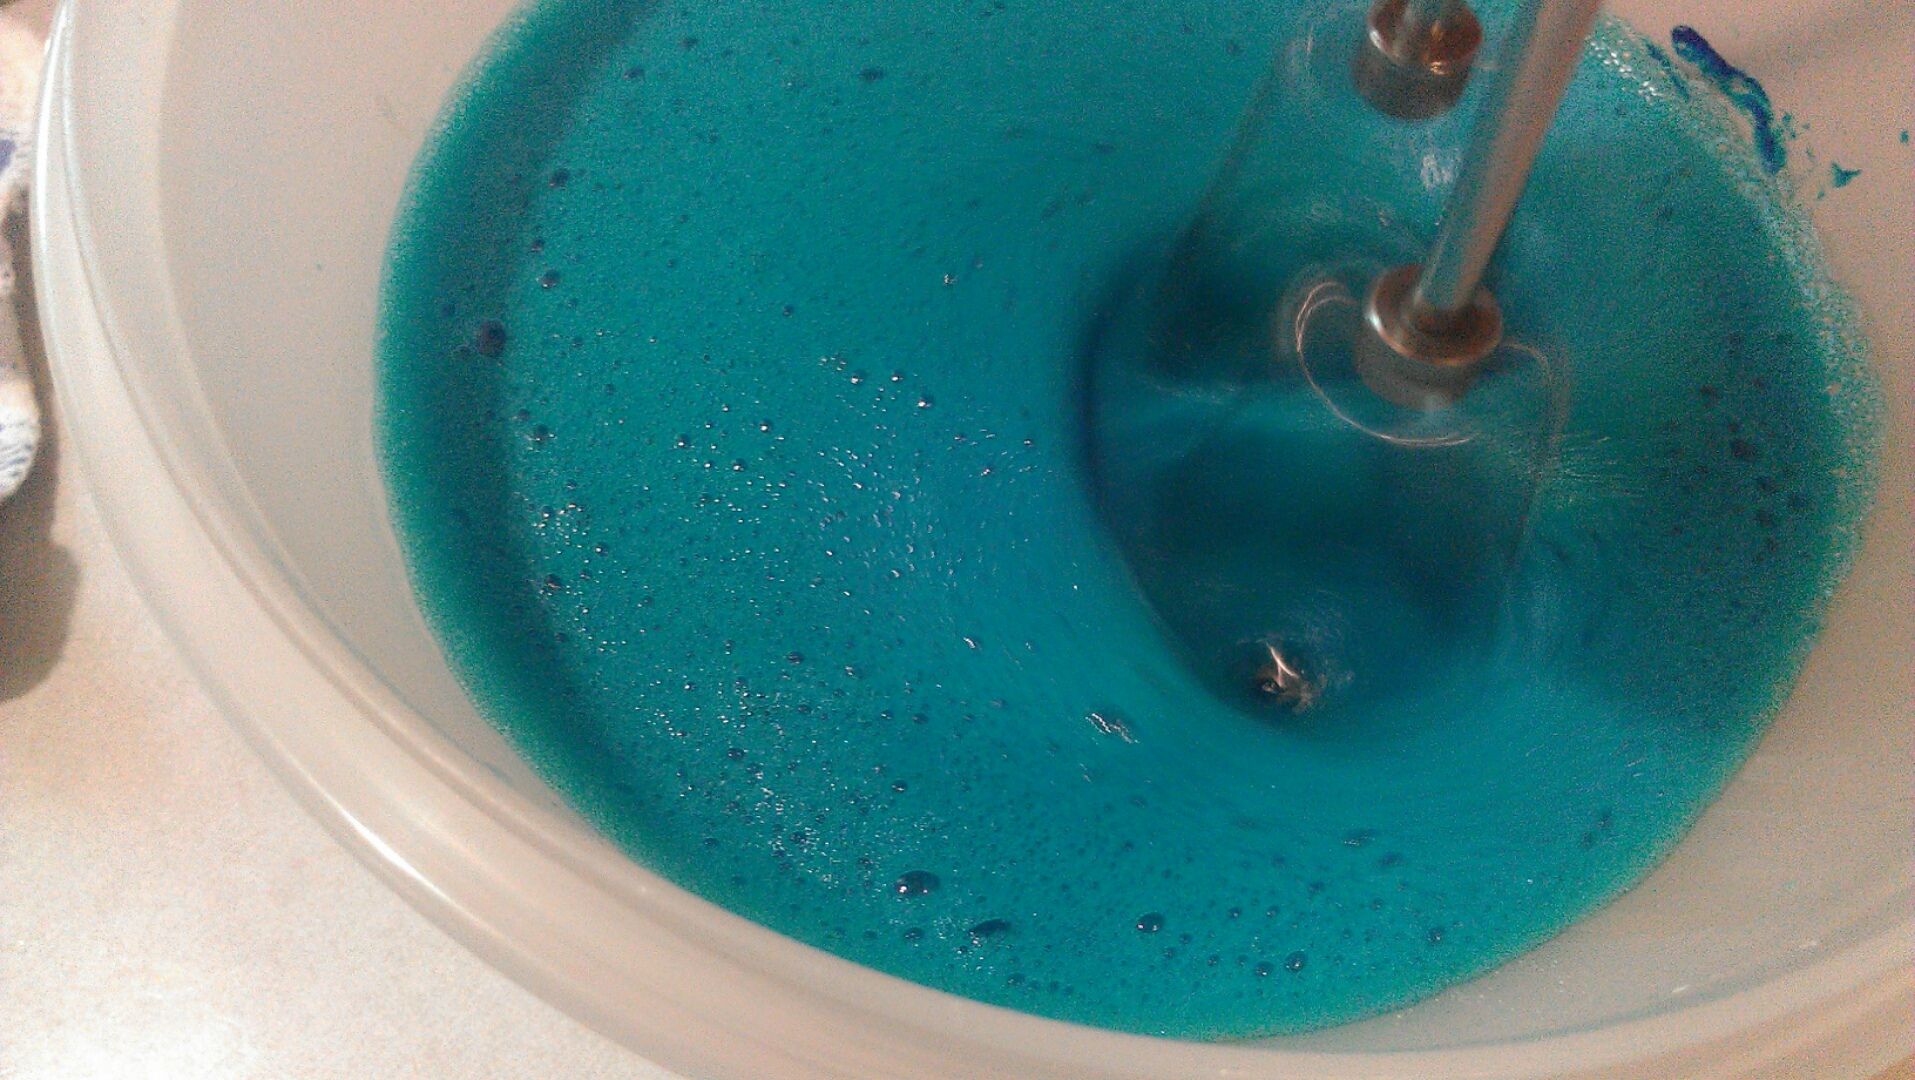
     It doesn't take long to look very bubbly, the way coke does when you first pour it into a glass over ice. As you work more air into the froth, the color will lighten up. 

     
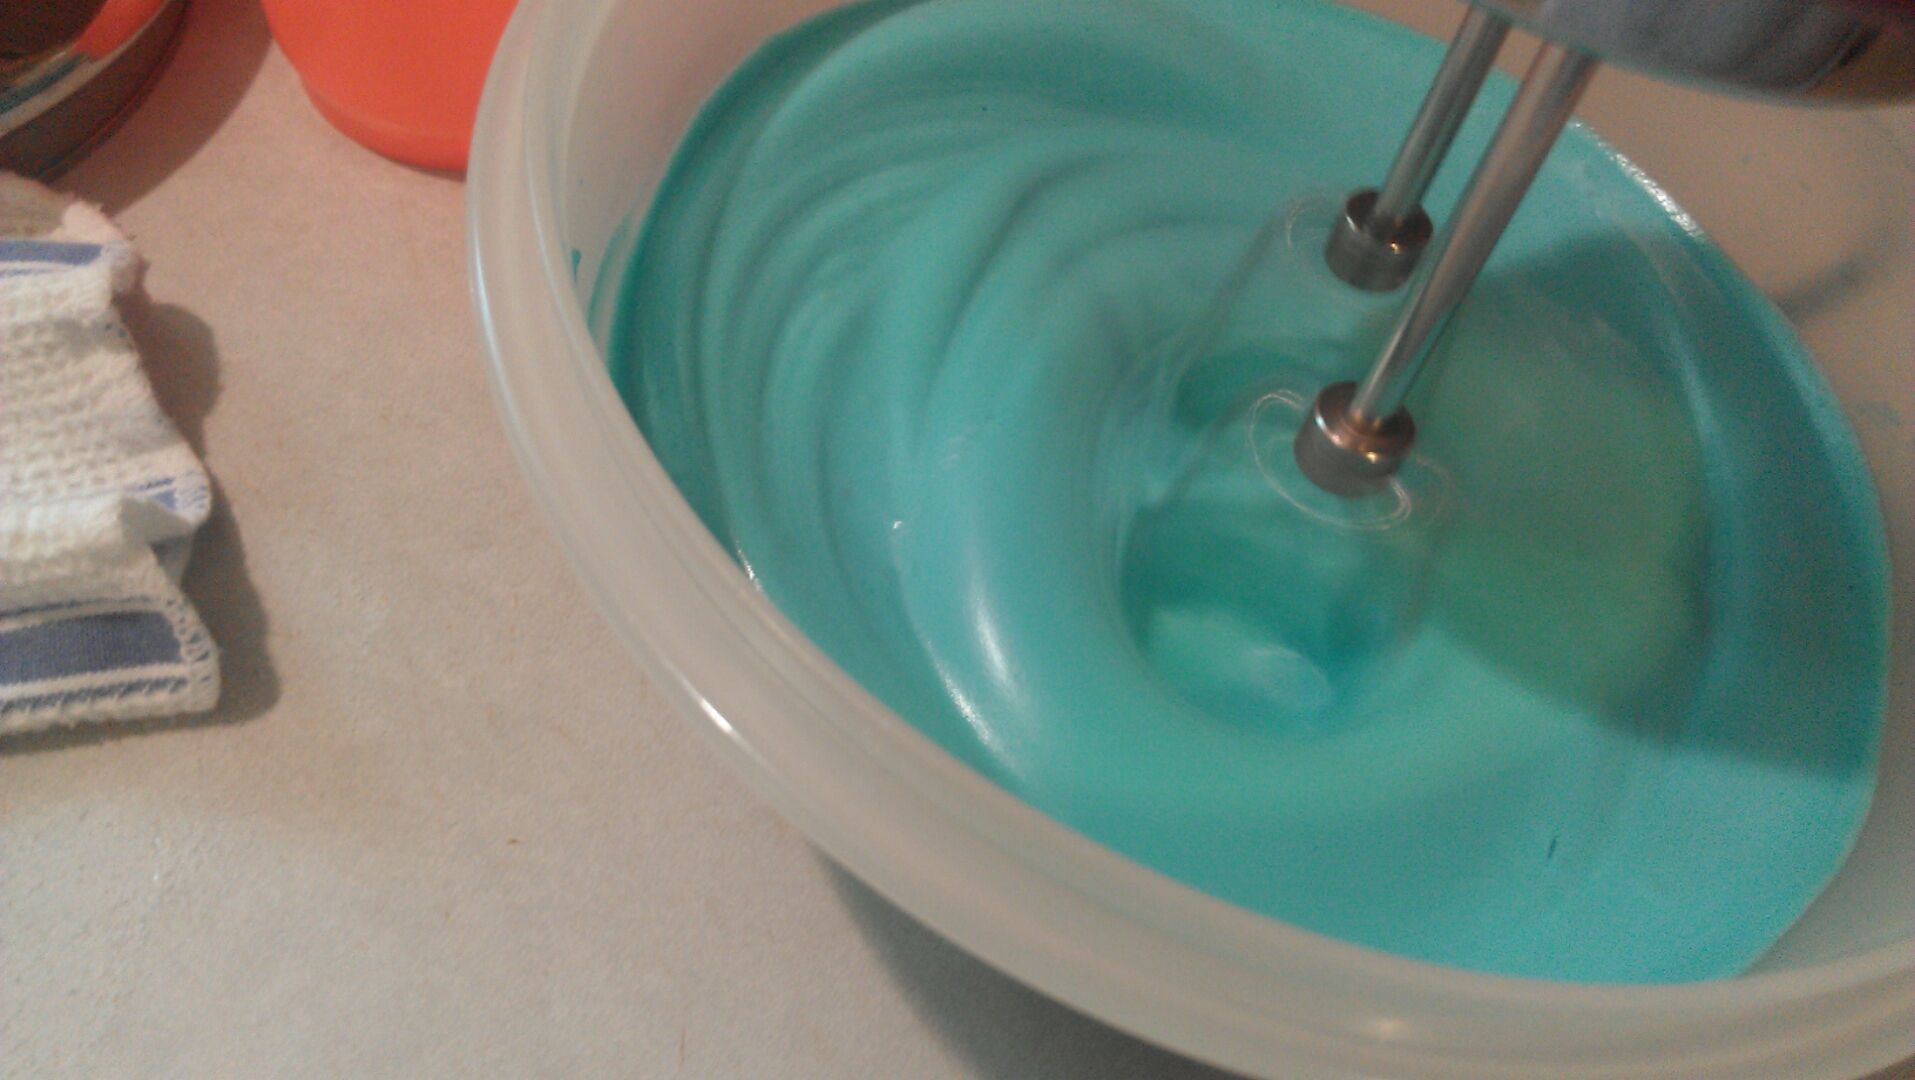
    This has become almost pure foam, but will quickly fall apart and melt back into a more liquidy form if you stop and leave it alone. 

     
    Notice how we're getting 'waves' now that have the illusion of looking thicker. 

     
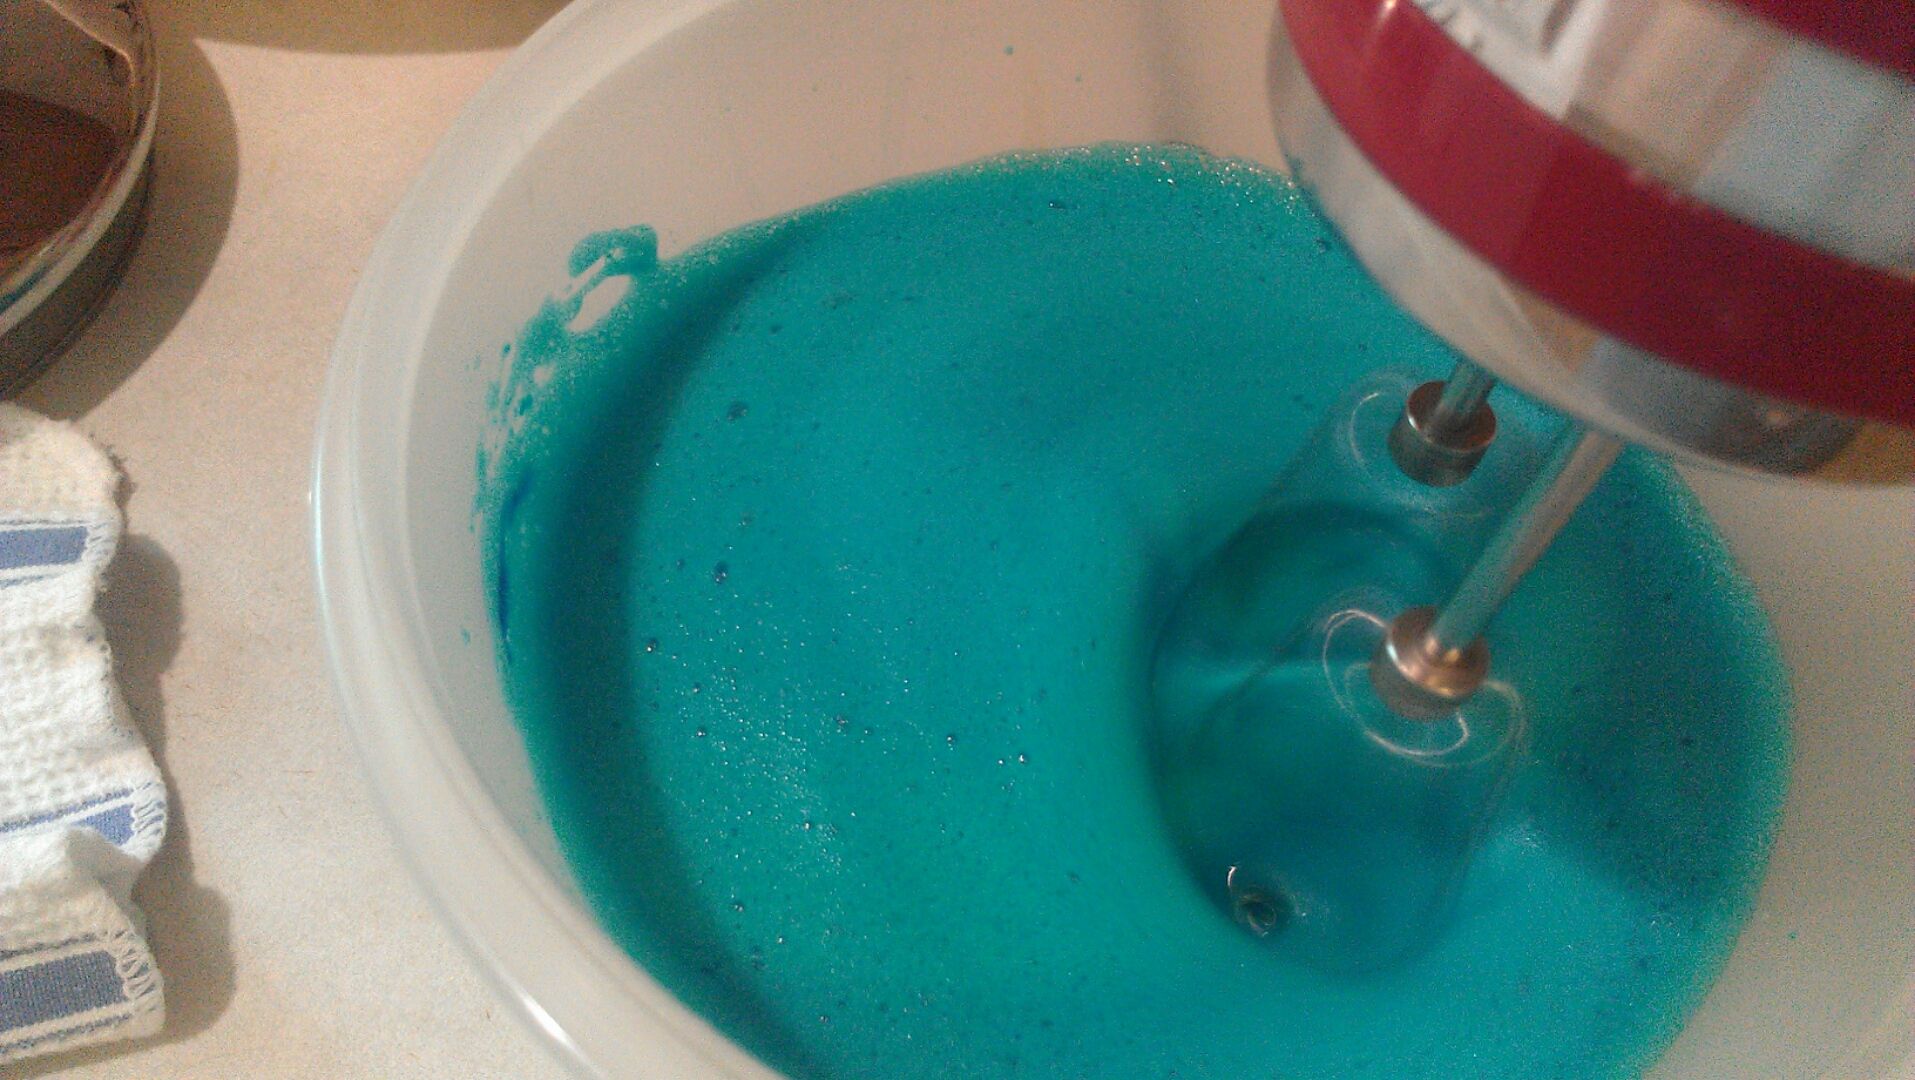
    And thicker. When the waves start holding their shape, you've almost reached the 'soft peak' stage. 

     
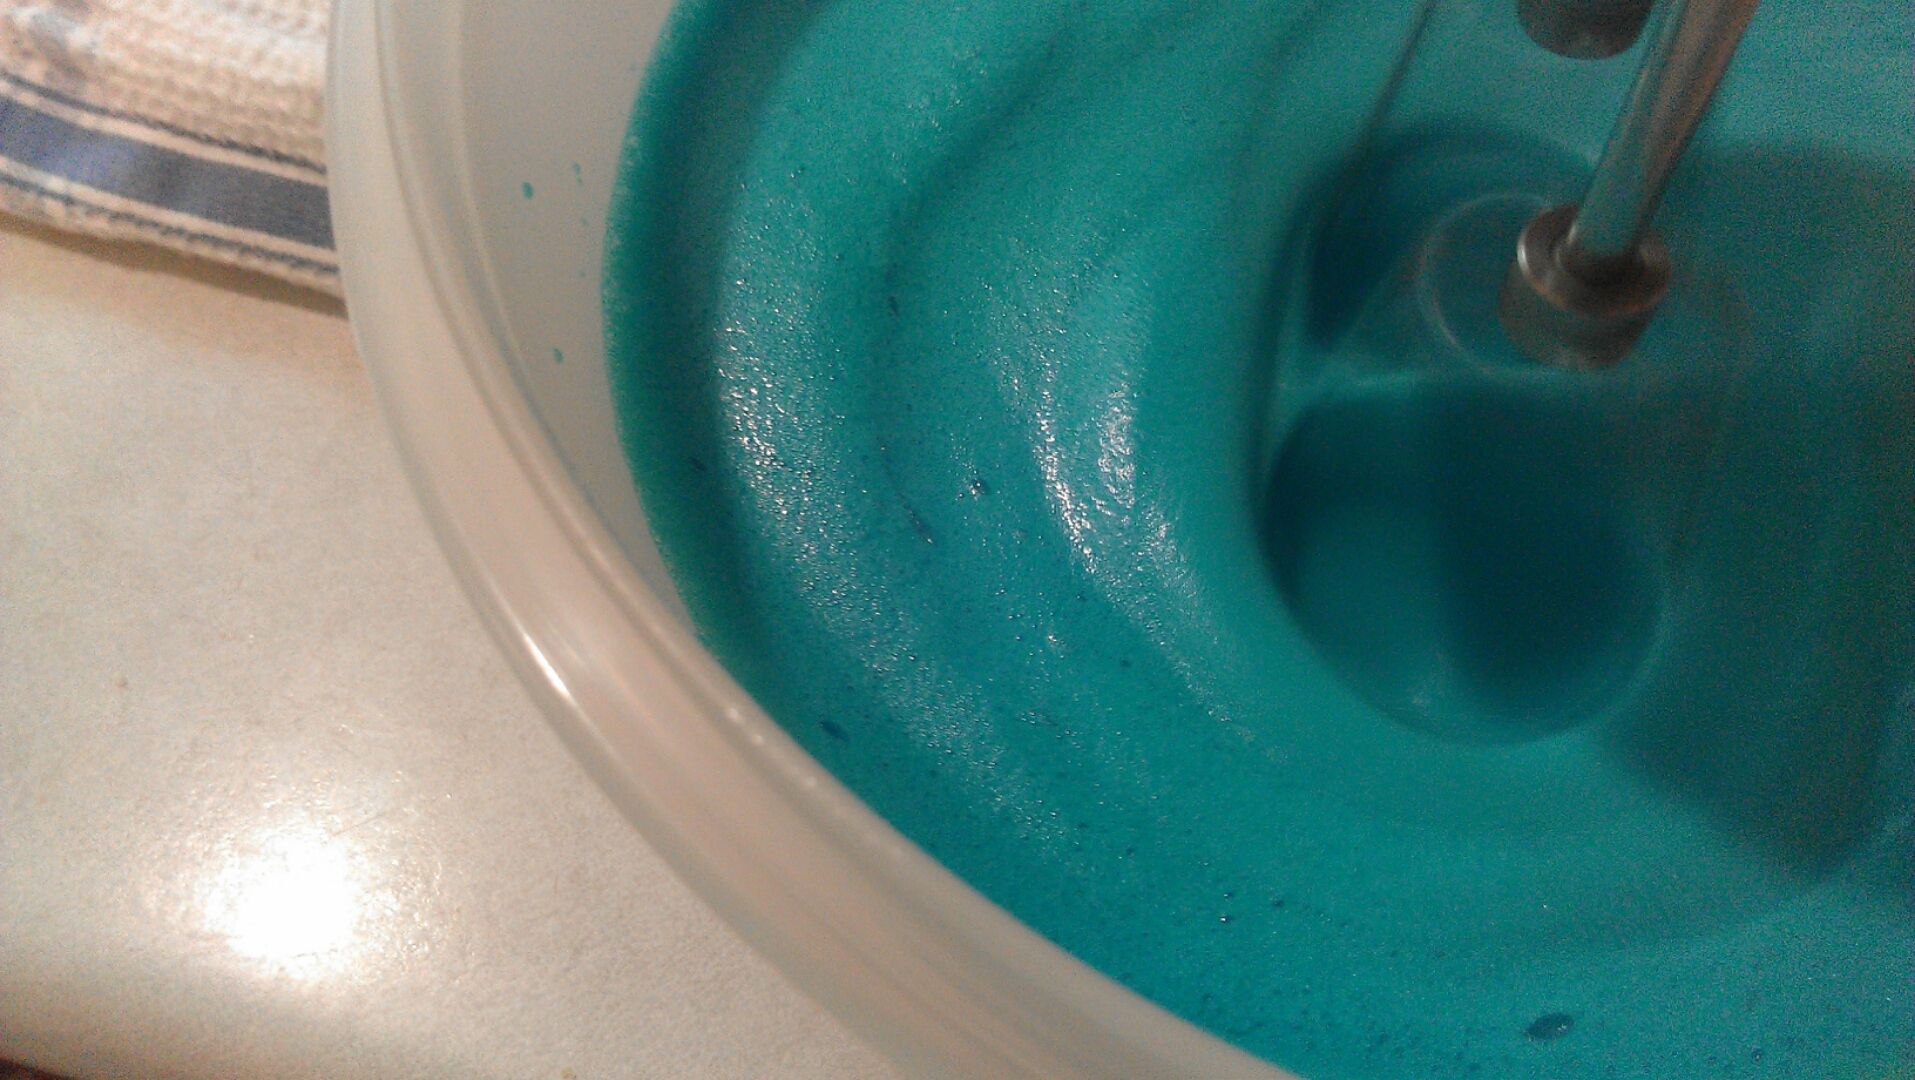
    Which looks like this, soft peaks that hold their shape when you stop. You'll see why they're called soft when you reach the stiff peak stage. At this point stop and get your sugar and then stir whipping it in a tablespoon at a time. You don't need to add extra sugar when you use a couple more whites.  

     
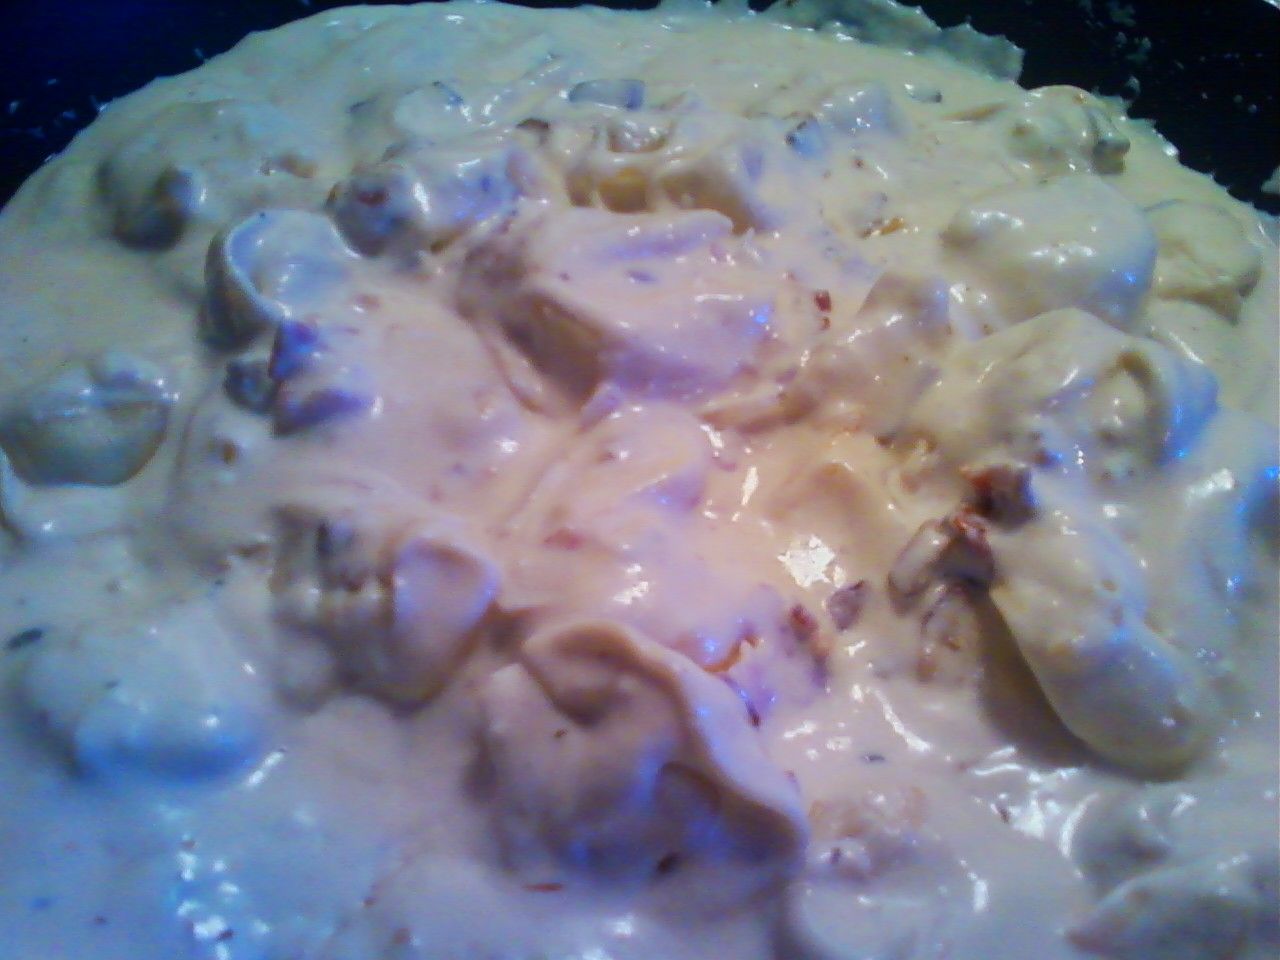
    The sugar helps the froth smooth out into a glossy fluff. Keep going for a bit. 

     
    These are stiff peaks. When your froth has finally turned into something that looks like marshmallow creme and holds a really good shape when you stop whipping, you've finally made meringue.  

     
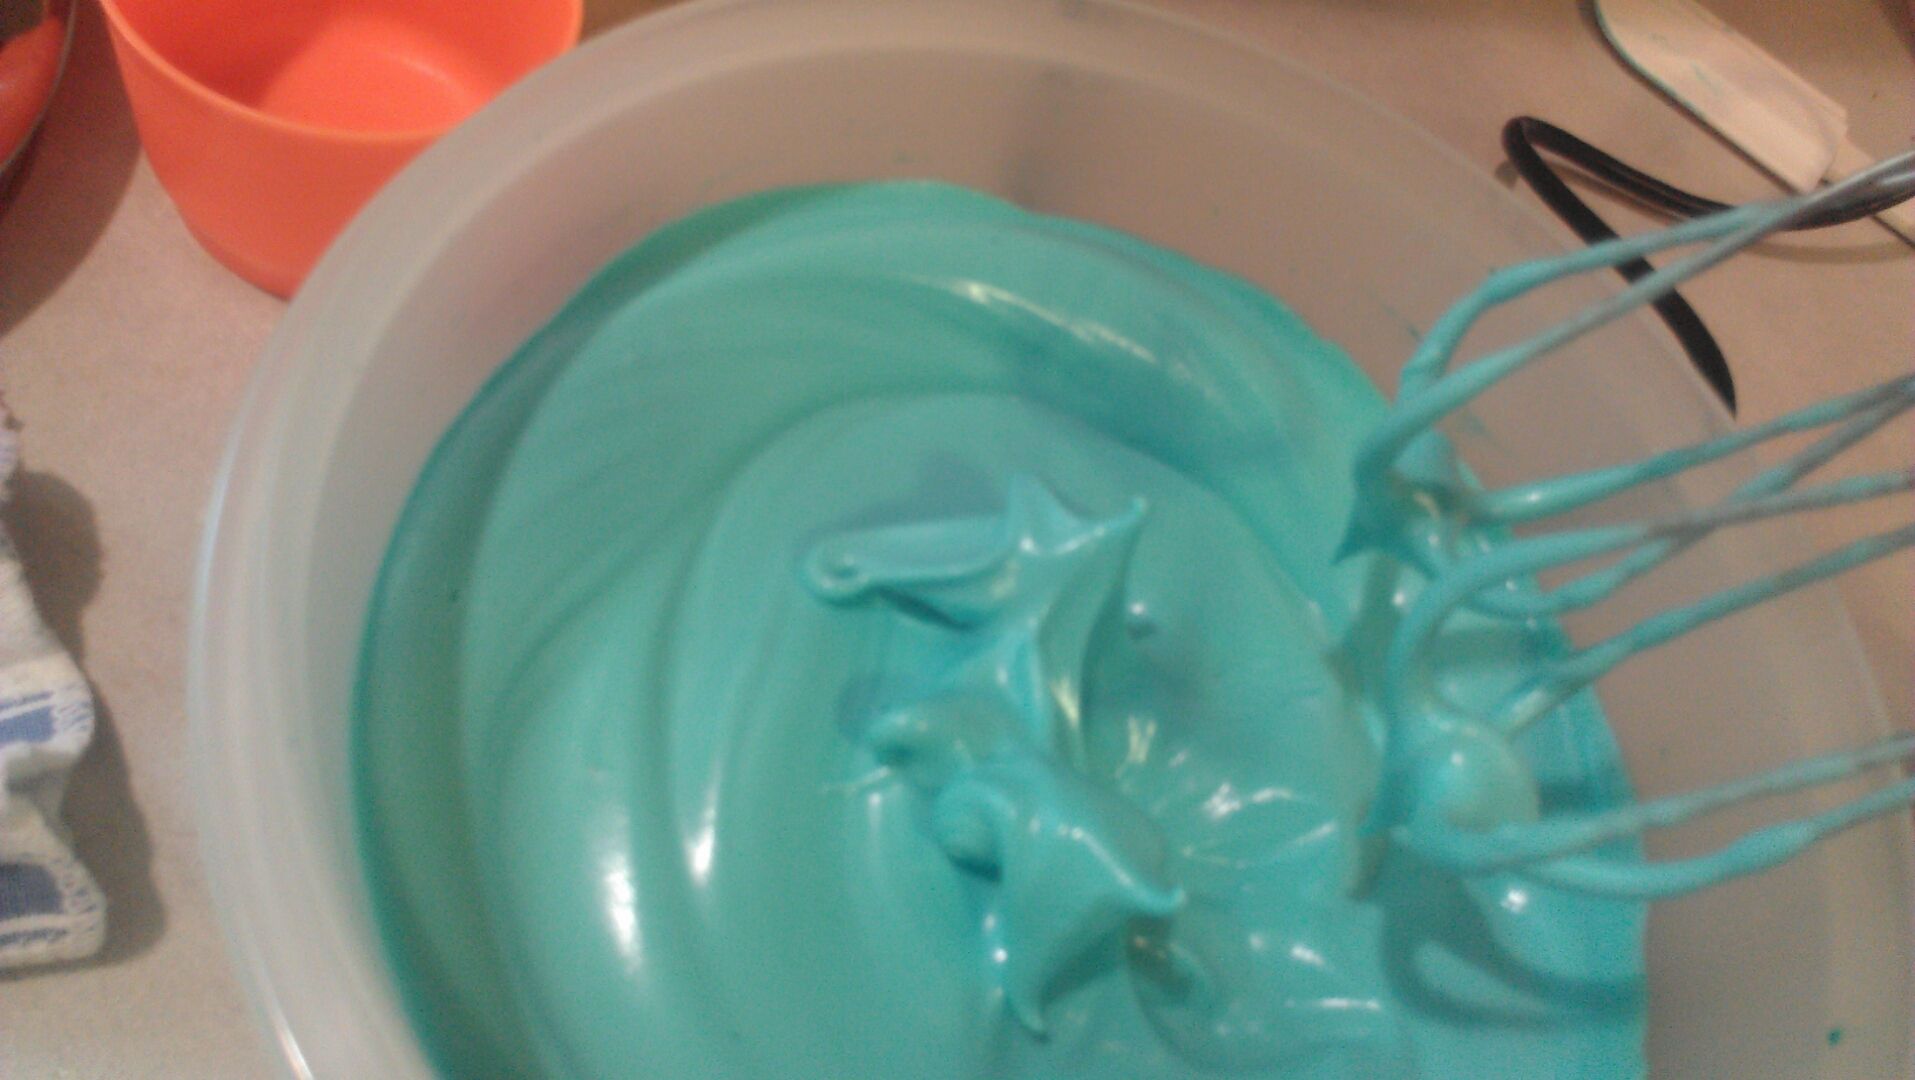
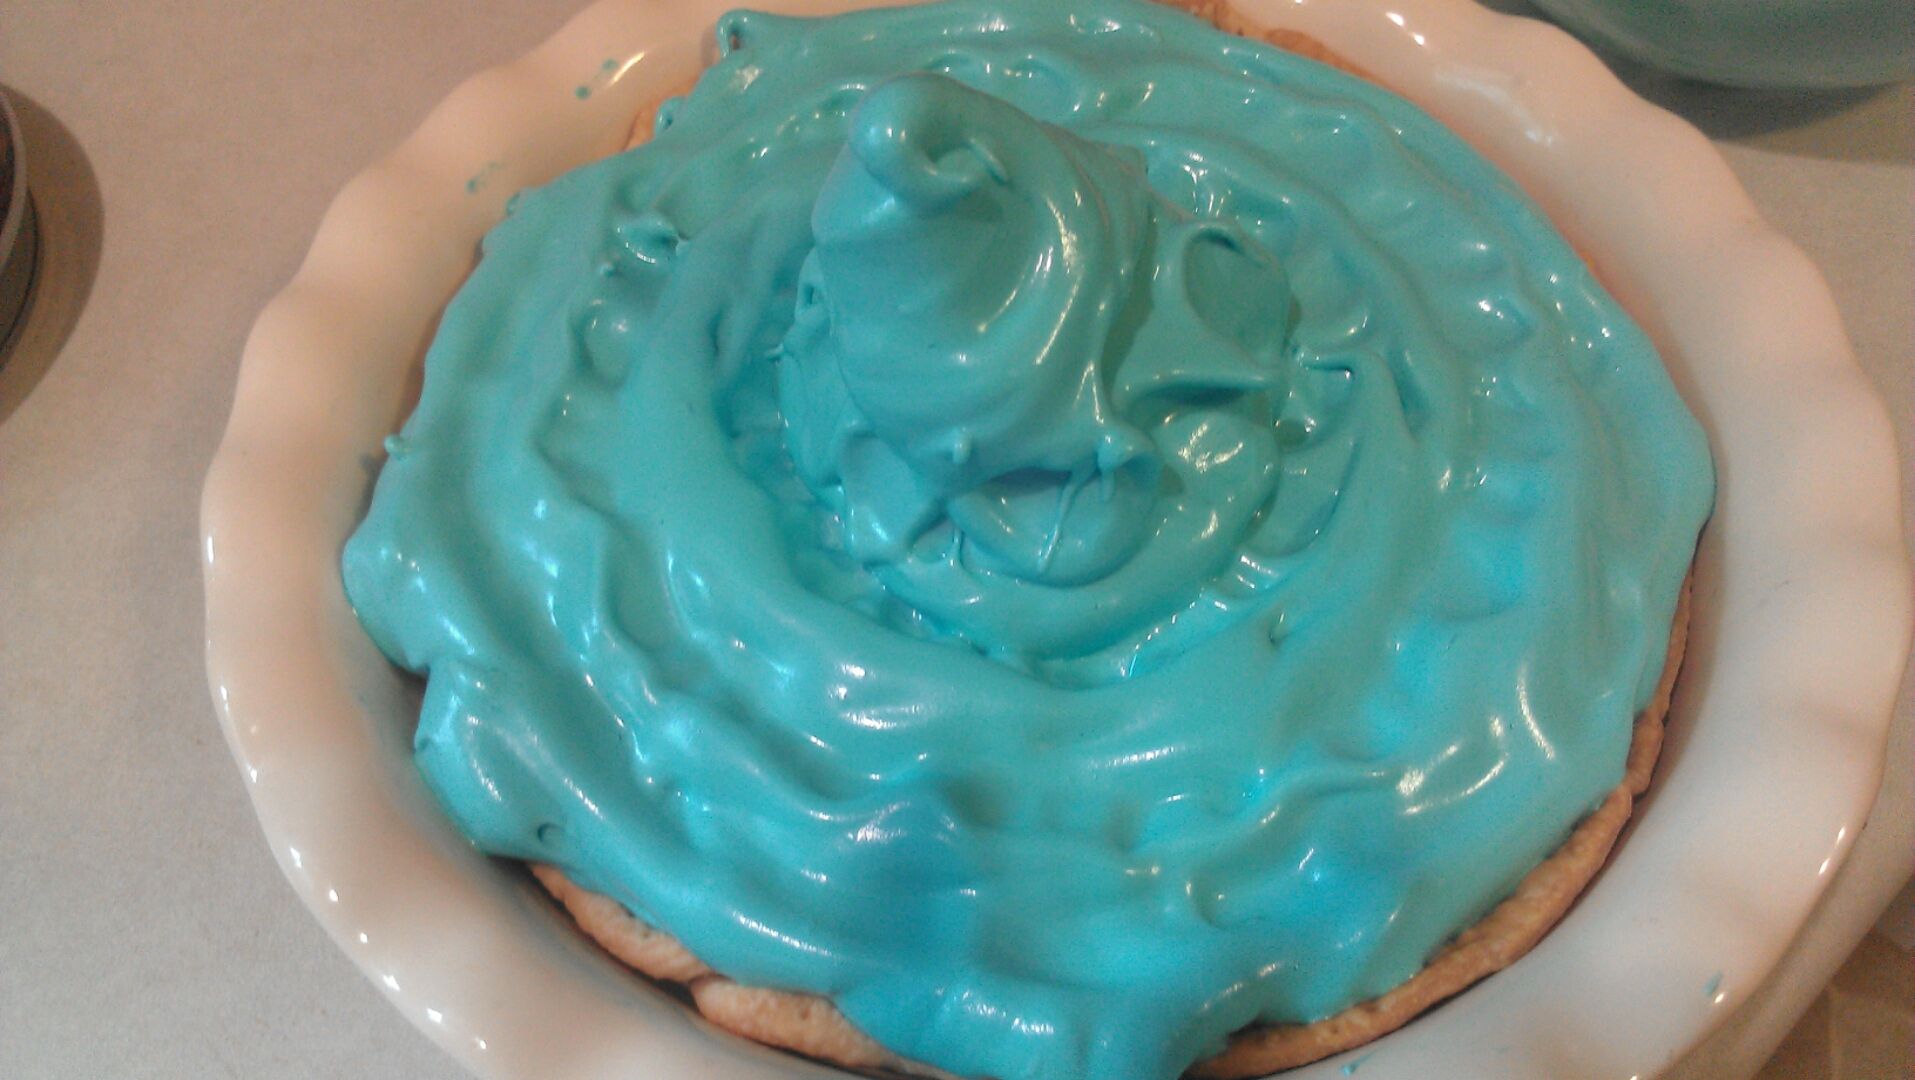
    There are many things you can do with meringue, but this one is going onto a pie.


    I get so bored with the same old meringue, I started playing with shapes and colors this year. Maybe in a few months I can make something really super cool. But for now, I've got the basics down well enough to play with shaping waves. This seems to be turning into an activated Stargate portal.

     
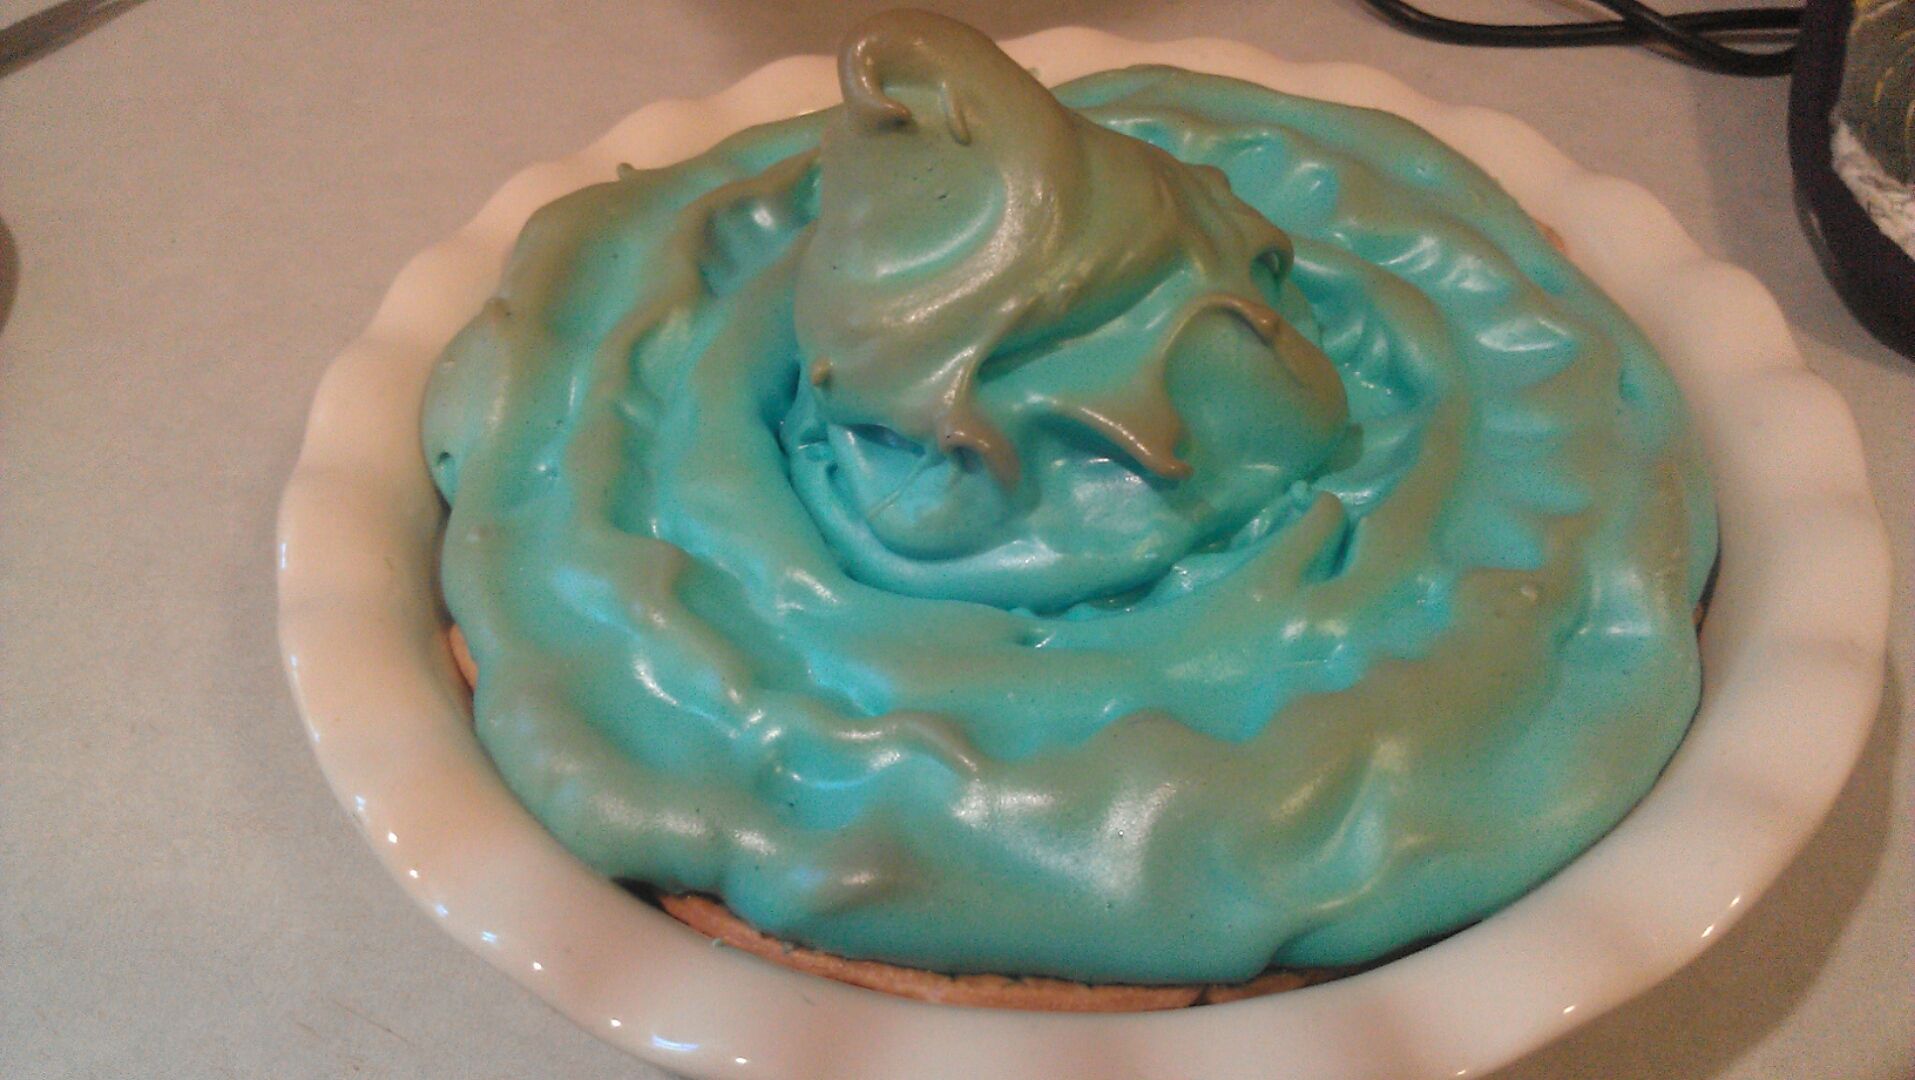
    Bake your meringue in a preheated 350 degree oven for *about* 15 minutes, you really need to keep an eye on it because once it starts to brown, it can go black kinda fast, just like a marshmallow over a campfire.  

     
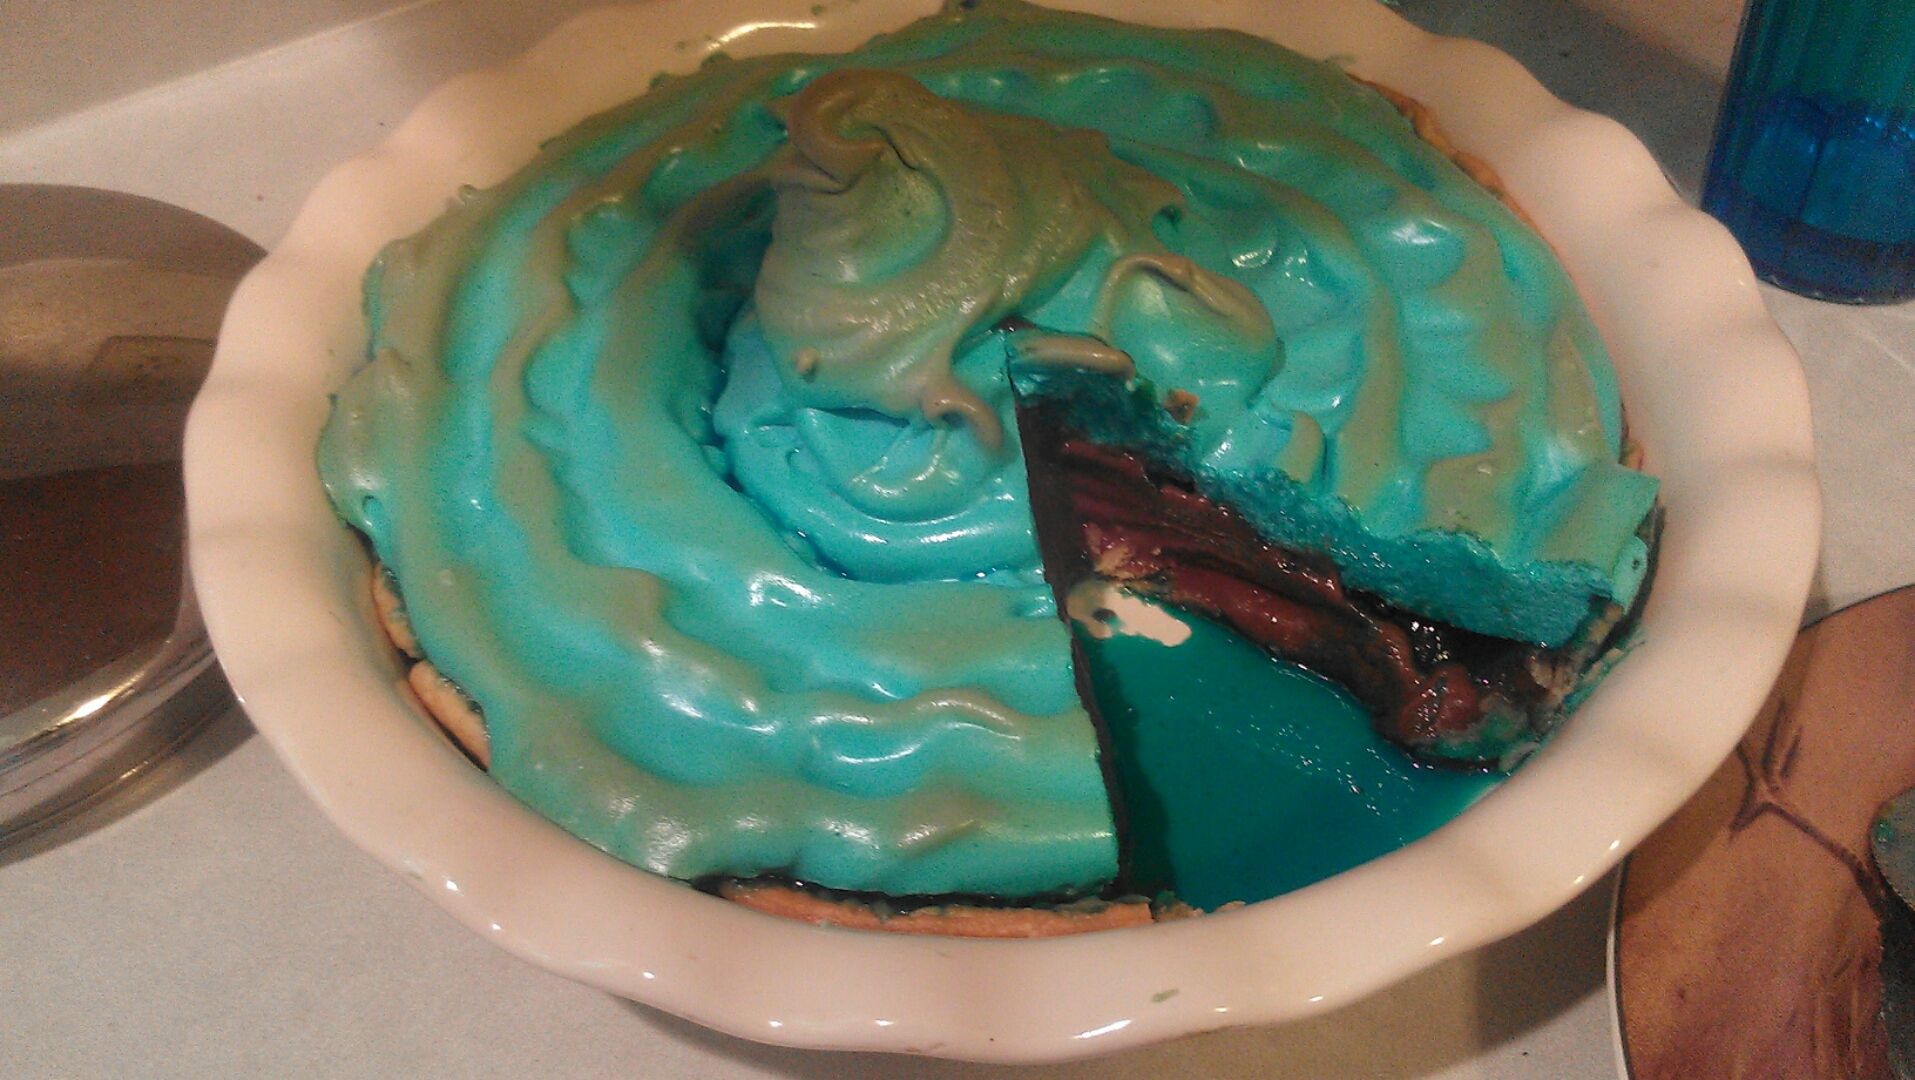
    Sometimes your meringue will 'weep' back into the pie. Not to fear. It's liquid sugar and doesn't spoil a thing. 


  • Old Fashioned Chicken Stock

    I've seen several food shows that demonstrate how to make homemade chicken stock. While chicken stock has been a staple around the world for time out of mind, it's still not the easy breeze a 30 minute TV show can make it seem. I've been doing this for years, and I'd like to fill in a few holes for first timers. This is going to be a lengthy recipe post with 19 pictures, and some think "overkill" while others weep with relief. THIS is how you make a really good old fashioned chicken stock.
     
    Mine starts with a ceramic glazed cast iron stock pot that I ordered from Ginny's ®. (NOT being paid to link that. I just really like this pot.) Best pot ever for super slow simmering. The heat distributes well, and you don't get hot spots like you do with metal pots. If you prefer metal, try to use the thickest heaviest pot you can find so you can control the simmer not running away into a rolling boil on low heat over 2-3 hours.
     
    If this is your first time, the first thing you do is schedule this adventure for a day where you're not stressing against a time crunch. Do NOT plan the next meal around this, it's too much work until you get used to it. People in the old days didn't have technology and hectic lives, or this might never have been invented. I know, nothing like giving you a recipe that is arduous and time consuming, but it's THE BEST chicken stock you ever tasted in your life. All your other recipes using chicken stock will benefit.
     
    I like using Smart Chicken®.  It's a little more expensive, but looks and smells almost as fresh as a farm chicken I butchered myself and froze back. Whatever chicken you buy, make sure it fits into the pot comfortably. I've made mini versions of this with a cornish hen in a large saucepan, whatever takes your fancy. If you don't have a whole chicken, use a bunch of chicken pieces with the bones still in, wings and legs are good for this. Part of the flavor comes from the skin, fat, and bones, not just the meat.
     
    Rinse your chicken very thoroughly under lukewarm running water, inspecting it carefully for wax (looks yellow), pinfeathers, giblets and/or neck hidden in the inner cavity, etc. Be careful of broken rib and backbones if you reach inside. (If you do cut yourself on a bone, stop immediately and wash your hands with soap and water and cover the wound before you continue. Getting an infection in your skin from raw meat sucks, and getting your blood all over other people's food is gross.) I like to pull out the stringy goop and cut off the tail and the big wad of excess skin on both sides of the open cavity. After rinsing, place the chicken directly into the pot. Throw away all the extra stuff not going into the pot, and wash your hands and the sink with soap. I wash my hands a second time just to be sure. I grew up on a farm, and we didn't know back then about raw meats and cross contamination. I threw up a LOT. Be smart and save yourself a bad tummy ache later.


    After that is all cleaned up, it's time to prep veggies. Use a fresh knife, not the chicken knife. Make it a habit to use different utensils for meats and veggies, even if you know it will all be cooked together. Why? Because, in this instance, you only want half of a large onion and 2-3 stalks of celery. Don't contaminate what you don't use right away with a meat knife. You'll also want a couple of large carrots, peeled and cut in half. I like stuffing carrot and celery inside the chicken. Wash your hands immediately after touching the chicken again. Put the rest of the veggies into the pot.


    I use 9 flavoring ingredients in my stock-
    1 t. salt
    4-5 peppercorns
    1-2 bay leaf
    1 T each of rosemary, thyme, basil, parsley, and oregano
    1/2 t. garlic powder
     
     
    On TV shows they tie these up into sprigs and/or a little bag. Making chicken stock is a lot like making tea. Steeping the loose leaf herbs slowly with plenty of room for them to circulate and swell brings such a beautiful aroma and flavor that tying it all into a little bag seems like a crime. Doing that doesn't really save you any time or work later, because you still have to strain the stock when you're done anyway, right? May as well go for gold.


    When all your ingredients are assembled into the pot, pour water over it all up to 1-2 inches from the top. You want to leave some room in case you walk off and it boils, which I've done on more impatient days. You'll also need splash room, which I'll get to in a minute.


    Put the lid on and turn the burner on low. Trust me. If your chicken was already thawed, 3 hours will be about right on low. If it was frozen solid, give it 4-5 hours, but still keep it on low. If you are using chicken pieces instead of a whole chicken, or cooking a cornish hen in a smaller pot, maybe two hours is good. You'll get the hang of it.


    About halfway through the cooking time, one to one and a half hours for the big chicken, you'll want to turn it over. It will cook through just fine without turning it over if you leave the lid on, but turning it gives all the meat steeping time in the stock for flavor and juiciness. Some of my biggest messes have happened while I'm turning a hot chicken over in a scalding stock bath, so be careful about burns. If you do get scalded, immediately get ice or at least cold running water onto the burn before it blisters. Your skin will literally cook from that high temp, and you must cool it quickly so it will stop the cooking. Heat denatures protein, breaks the molecular bonds, and the ice or cold water will stop that process. Never ignore a burn, even if it doesn't hurt that bad. It will hurt bad later when your nerves recover from being cooked alive.
     
    Here's a good way to turn a chicken. Use a long handled heavy gauge slotted spoon and a very long fork, one in each hand. Guide the fork into the inner cavity while you brace the chicken with the spoon. When you have the fork inserted well enough to move the chicken, lift slightly (lifting higher creates a bigger splash if the chicken slips), and turn like a spit while you use the spoon to help maneuver it on over. Resist the urge to stand real close to the pot for better leverage or bracing or whatever, that is a mistake and you could wind up having to change your clothes and ice your chest and stomach. (Twenty years of experience...) Once the chicken is turned enough to go on over, use the spoon to ease it on down. Put the lid back on and walk away again.


    Your chicken will be cooked through soon after, but it's not 'done' until it easily comes apart when you press the spoon down into the mid back. When you've reached this stage, turn off the burner and let your stock rest with the lid on. You can take the chicken and veggies out now if you want, or you can let them cool a little in the stock. It will all stay hot for a good hour because the heavy pot is so efficient at holding the heat in.


    After an hour, you need to go ahead and get the chicken out onto a plate. It'll still be pretty warm, but you can cover it in plastic wrap at this point to hold in the moisture and cool on the counter for half an hour. Never put hot food into the refrigerator. Hot food can shatter glass shelves in the fridge, and can encourage mold growth in foods it touches or sits near, because they'll become less cool being next to something hot and can take too long to cool back down again. Since your chicken just came from a long simmer, it is sterile coming out of the pot and won't spoil while it's cooling down on the counter, but don't leave it out longer than a couple of hours. When it is cool enough to comfortably handle, I put the chicken into a gallon storage bag into the fridge to deal with later.
     
    Strain the veggies out of the stock into a bowl using a slotted spoon, and keep spooning through until you're pretty sure you've gotten the bay leaf and all the stray layers of onion that have floated off. Throw all that away. It might be tempting to think you can use it later somehow, but trust me, it's not worth it. The flavor and nutrition have steeped out of the veggies into the stock, they've done their duty. Throw them away.


    Straining stock isn't hard. Some recipes say to strain through cheesecloth, which is expensive and way messier than this needs to be. Unless you are hoping to make a clear consume or broth, you just don't need that extra stress. I use a large mesh strainer with a handle so it will sit over a bowl. I set the bowl in the sink so I don't have to clean up what I spill, and from there it's a matter of tipping the stock pot just right so all the liquid goes through the strainer. Then I carry the strainer to the trash, clap the crap out, and immediately wash it with soap so I don't have to mess with it later. The faster you get that strainer cleaned up, the less you'll hate straining stock. If you leave that strainer sitting around until the chicken fat hardens and the herbs dry, it will be impossible to clean and you'll never make chicken stock from scratch again.


    I really like using tupperware for that stock, put a lid right on it and set it into the fridge. You can leave it alone there up to 3 days, but after that you either need to cook with it or freeze it back. Stock spoils faster than just about any food on the planet. If you open it and it has spoiled, you can't salvage it. Throw it out because it will only poison you now, no matter what you do. You can kill germs with heat, but mold is a molecular structure that can survive heat and wreak havoc in your body. (Grain molds can cause brain damage if bread is made from moldy grain. Don't cook mold!!!!)
     
    All the fat in the stock floats to the top, and in the fridge it hardens into a skim on top, which is very easy to remove while it's still cold. Use a spoon to skim it off and throw it away. What's left is technically an aspic and wiggles like Jello. It melts right back into stock as soon as you heat it up, and it's now ready to go into your recipes. You can measure it out by the cup and freeze in ziplock bags. I froze this batch into a quart bag to use in stuffing next Thanksgiving.


    The rest of the herbs that got through the strainer all settle at the bottom of the aspic, and will stay there as long as you don't tip the bowl or disturb it as you ladle the stock into bags. When I get down to that stuff, I just pour the dregs down the sink and flush a little water after it. With the fat and other solids removed, this small amount won't cause a clog.


  • campfire scrambled eggs


    I first ate this years ago during a big camping trip one weekend with probably over 50 girls plus a number of counselors. I was asked to go to be an extra supervisor for activities, which was fun. Smelling this breakfast cooking outside after sleeping in a tent is a gorgeous experience.
     
    Start by frying up some bacon, set it aside. (If you prefer chopped up ham, by all means saute some ham at this step! Set it aside like you would the bacon.)

    Drain the fat out of the pan, and I use 2 T of butter to every 2-3 eggs, so for this batch I used 4 T of butter. Let that melt on low heat in the pan while you chop up some veggies. I like green onions and orange bell peppers, very colorful in the eggs. My dad likes to steam broccoli florets in the microwave to add to his eggs (ew!), plus he sautes lots of chopped up jalapenos, other people like chopped tomatoes, pretty much anything your heart desires. The main thing is to get the harder veggies a little soft first before you scramble them in the eggs, so saute whatever you chop up in the butter (or whatever other fat you like to use, I think real butter has a nice flavor). I also like to add mushrooms, these are baby bellas.

    When the veggies reach the softness you prefer (try to keep some color, don't cook them to death), crumble the bacon up into the pan with the veggies and give it a good stir, then move all of it to the sides to make room for eggs. I grow my own eggs 
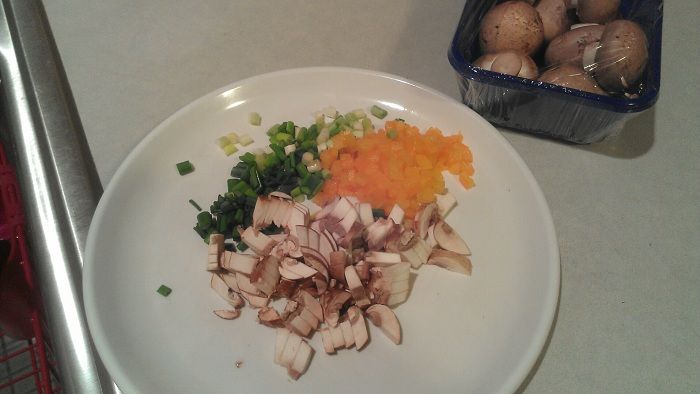
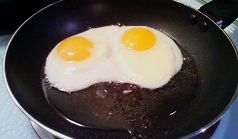
which are much more tasty than regular store eggs, and the yolks are darker.

    Pop the yolks with your spoon and stir the eggs up real good to scramble them, then pull the veggies and bacon into the scrambled eggs and make sure they're all scrambled together evenly.

    The rest is easy, just keep stirring every few seconds until the eggs cook and dry out a little. 

    I turn the heat off when the eggs are just done and sprinkle cheese on. I like mixing several cheeses together, but mostly I like Swiss with a little parmesan. If you like a more Mexican style of eggs, the colby/jack is really good, and a little parmesan perks it up even more.

    Looks great on the plate! Some restaurants offer options like hollandaise sauce or a dollop of sour cream or Tabasco sauce and maybe other goodies on the side, like sliced avocados and maybe more fresh chopped tomatoes or a separate mushroom sauce. This is the part where you play around with different flavors and styles. Me, I like digging in as soon as I can.

    I like to make a big batch so I can save some for later. These scrambled eggs keep very well in the refrigerator for a couple of days, and Scott likes to take them to work, because he leaves so early in the morning.


    One very nice perk about this ~basic~ egg recipe is that it's very low carb and won't spike your blood sugar, if you're having to watch out for that. If you add toast, juice, milk, sauce, fruit, and other stuff like that you will, but not if you just stick to these eggs. Also please notice there is no added salt. You get plenty from the bacon (or ham) and cheese.


  • Loca Chili Bake

    A few years ago, I remembered a Mexican casserole my mom used to make and tried to recreate it from memory. As far as I knew, there was no written record of it, and googling never got me anywhere close to the things I remembered on how it was created. My recreation was *ok*, but not great, had a couple of problems, but still good enough to eat.
     
    Two years ago I ran into my mom's old recipe box, found a recipe possibly in my grandmother's writing called Loca Chili Bake, and it comes closest to what I recreated on my own from memory. Looking at my mom's recipe, my recreation was actually better than what we used to eat as kids, even with its flaws. Funny how we can remember something as really good and go back and find out it was only so-so. So I had a good think and thought, I can do even better! I figured out what I could tweak, and had learned a trick about casseroles along the way. This is my final version of what I'm going to start calling Loca Chili Bake, to keep the old recipe going. Anyway, Scott loves this stuff, so I must have gotten it balanced out pretty good.
     
    I started with basic ingredients.


    The first thing you do is start cooking a pound of hamburger with a small chopped onion. While that is cooking, open the tamales, peel them, and slice them into buttons to layer all over the bottom of a 13X9" pan. Pour the juice from the can over that, tilt around to even it out. Then get a big bowl out and dump in the drained corn, chili beans, and enchilada sauce, mix it real good. Then I stirred in a teaspoon of minced garlic from a jar and a half teaspoon of salt. I can't eat a lot of salt and spices, so at this point, another person might also want to add cumin, chili powder, or more salt to taste. And you should taste it, you could definitely over-spice or over-salt it since there is already sodium in all the cans, and plenty of spice in the beans. Finally, add a cup of shredded colby-jack and stir that in.


    After the burger is cooked, I spoon it out onto paper towels and then pour it into the big bowl. I try to keep as much onion in there as possible. Stir all that in, then carefully spoon that mixture out over the sliced tamales and smooth it out. Put it into a 400 degree oven to start getting hot.
     
    While that is getting hot, I mix up two boxes of corn muffin mix. If you make cornbread from scratch, I don't know how big your batch is, but two boxes of corn muffin mix is like two 8 or 9 inch square pans. I wanted more coverage than just one batch. However, the coverage is pretty thick. In the past I've had problems getting it cooked through after I spread it onto the casserole, but I've learned this trick since then- get the casserole hot *first* so the heat and steam coming off the casserole will help cook the batter underneath. So after the casserole has heated up a little for 15 to 20 minutes, pull it out and spread the cornbread batter over it. Put it back into the oven and let it get pretty done looking, then turn the oven off and let it sit in the oven to keep cooking the batter through without burning the top. It can sit in there another 15 to 20 minutes with no problems, and when you pull it out it's still pretty hot.
     
    I decided to garnish like Mexican restaurants do, with fresh sour cream, avocado, and chopped tomatoes. This also really adds to the overall flavor, so it's going to be part of my recipe from now on.


    It pulls out of a nonstick pan very easily with a pancake turner. This held together really well, thanx to the little bit of cheese in there. If you're a big cheese eater, you could probably add more, but it might get way gooier.


    I mashed mine down to show off the inside. This is probably a super adaptable recipe, you could add anything imagineable or turn it into something Italian, etc. The cornbread mix I use adds a sweet touch to the spice flavor, nice balance.

  • Italian Chicken Fingers

    A couple of loyal readers who have been following my bluejacky blog already know from reading my silly little surveys that I have cooked professionally in both a big restaurant (400+ capacity) and a posh lounge, and that over the last two years have suddenly developed a ridiculous array of food allergies to the point where I can no longer eat in restaurants myself. I decided that the only way not to feel sorry for myself was to make everything I eat at home taste *better* than any restaurant I've eaten in (or cooked in), and believe it or not, I've wildly succeeded in these little babies.

    Italian Chicken Fingers

    Measure one part plain packaged bread crumbs (or flour, if you don't have bread crumbs, note that panko won't work that well with this recipe) to one part ground parmesan into a breading dish, about a cup each. Mix well, breaking up the parmesan lumps, adding a big dash each of black pepper and garlic powder, a tablespoon each of dried thyme and dried oregano, and a teaspoon of smoked paprika. I personally prefer McCormick spices because I think freshness, consistency, and quality make for better tasting food. I'm not being paid to say that, just saying, as someone who does a LOT of cooking.

    Open a package of chicken tenders and lay them out on a plate. I like to peel the transparent skin off them first, the finished texture is better. Lightly salt them only on the side that is facing up. Break two eggs into a small bowl and whisk them with a fork until they're all one color. Your ingredients are now assembled and ready to cook.

    I normally use 100% canola oil for frying (1200+ mg. omega-3 in every tablespoon!) because it has a high smoke point and because I'm too sensitive to other oils, like corn and especially peanut. However, to punch up the flavor even more on these chicken strips, I fry them in leftover bacon grease (which also adds a little more salt). I never heat a nonstick frying pan above medium heat because some of them have warnings about the integrity breaking down under higher heat (and that can mean that toxic fumes might cook into your food, but I'm no expert, just cautious, and really tired of my pans breaking down). Your pan will get plenty hot if you are patient. When a pinch of the bread crumb mixture starts sizzling, your oil is hot enough to start cooking.

    Dip a chicken tender into the egg with a fork, then transfer it to the crumb mixture and pat mixture firmly onto it, then lay it into the hot oil. Repeat with all the chicken tenders or until the pan is full, finish what's left in another batch. Cook for 2-4 minutes (depending on how hot you've got your oil) and turn over and cook until all sides are browned and crispy. Don't overcook or your chicken will dry out and be tough. Chicken tenders cook through much faster than regular sized chicken pieces. If you are unsure, cut the biggest one in half to make sure it's not still raw in the middle. If it looks done, the rest are done.

    Lay the cooked chicken tenders out to drain on paper or a rack over a plate, and try to wait till they're cool enough to eat. I've burned my mouth because the wonderful smell was too much to take.

    Remember scratch 'n' snif? Someday when we all have internet implants in our brains we'll be able to experience a smell and taste sensation by mentally clicking on a food picture we see in our heads. Too bad you can't taste this right now, it really is good. Go make some!

  • really good chicken soup

    Chilly weather coming on is perfect for this hearty provincial chicken soup. Start with 2 cans of chicken stock (or about 3 1/2 to 4 cups frozen premade stock), cut 1 large celery stalk and 1 large carrot into big pretty chunks and simmer in the chicken stock until a fork can pierce to the center. While that simmers, squeeze 3 brats (your favorite flavor) out of their skins and brown in a skillet, breaking into small chunks as they cook, drain and set aside. When vegetables are starting to get tender, peel and cut up a large potato into the stock and keep simmering until potato is almost soft. While that simmers, shred or cut up 1 large or 2 small leftover roast chicken breasts. When potato is almost soft, add 1 cup water to stock, then add cooked brats and chicken, heat through. Do NOT add salt! Pile fresh spinach leaves into bowl, ladle soup over, sprinkle liberally with grated parmesan. This soup is very flavorful and is our favorite basic soup. You can also add any other leftover vegetables, beans, or rice for variety, or a little cream for a cream soup.


  • restaurant quality alfredo sauce

    This is hands down the best alfredo sauce I've ever eaten. I originally tried to recreate the tortellini dish from Pasta House, which I've enjoyed for many years, and wound up with something even way better.


    Cook 2-4 strips of bacon till crispy, drain and set aside. Wipe out pan, melt 2-3 T. butter on low heat while you thinly slice 1 small onion and chop enough of your favorite mushrooms to equal the amount of onion. Put those into the pan, grind on some pepper, turn up the heat a little, saute till tender. Turn the heat back down to sorta low, and into the pan add an 8 oz block of cream cheese, 1/2 c. can milk, 1/3-1/2 c. grated parmesan (powdered kind works best), and a tablespoon of garlic powder. As the cream cheese gets soft and you get stuff stirred in, splash in regular milk to thin it out a little, about 1/2 cup. The low heat keeps it all from curdling, so be patient. Crumble the bacon into this mixture, and if you'd like to add a little color, toss in a handful of frozen peas when the sauce is done.


    At this point you can add anything else you want. I like tortellini, so I heat Buitoni's Cheese and Roasted Garlic Tortellini separately in boiling water, but be careful not to get let your pasta get too tender and soggy so it won't fall apart in the sauce. When it's done, drain well and stir gently into the alfredo sauce. This is also a good time to add precooked shrimp or whatever else takes your fancy.


  • blueberry buttermilk applejacks


    After last weekend's stupid food reaction fiasco, I decided we're having extra special *good* stuff at home, yay! I'm always making new stuff that beats restaurant food so I don't feel so depressed that I can't enjoy eating out any more.
     
    My fave pancakes growing up were apple jacks, Scott loves blueberries, and who doesn't love buttermilk? So here you go, slaver over this easy awesome do-it-yourself gourmet pancake. To a cup of your fave pancake mix (I used Bisquick) add a half teaspoon of cinnamon and whisk in. Add a little lunchbox sized container of applesauce, one egg, and a couple splashes of buttermilk, whisk thoroughly. If it's too thick, splash a little more buttermilk, if it's too thin, add a little more mix. Pour a little onto a hot lightly oiled griddle, sprinkle on some blubes (frozen is fine, mine were homegrown at my sister's house), and cook like for regular pancakes.


    These are particularly moist but still manage to fluff up a little bit, and they smell like a holiday breakfast.


    These are the cutest tiny little eggs from my new hens, started laying just this last week. Organic free range at home *always* tastes so much better than restaurant eggs.


    Scott doubles up on the blubes with homemade blueberry jam that my sister made. I've experimented with all kinds of bacon, the best for getting crispy (for me) seems to be Farmland lower sodium, no idea why.


    This is the best way to squelch that 'poor me I have multiple food allergies and can't eat in restaurants without major weird cross contamination' depression, and you can do nearly anything you want with other flavors for all kinds of pancakes. Might seem simple to foodies, but when we get busy it's easy to forget how easy it is to enjoy something really good.
     

cookie

Please go to Lexxperience.com for updates. This site is not yet EU cookie compliant and being blocked in some countries outside the U.S.

LEXX 20th Anniversary- 2016  photo 20yearssnip.jpg

 photo vsmlett.gif

Lexx Index

 photo lexxheader.jpg

XANGA IS BACK - a public thank you to the Xanga Team.

 photo lexxperienceheader2.jpg Lexxperience.com supports mobile viewing until Xanga gets that going again. (It's back on my Android now when I turn it sideways.)

Lexxperience is also on Facebook  photo lexxperiencepageavatar.jpg Public sharing page for Lexx fans.

Open discussion in the Lexxperience group on Facebook if you'd like to interact with me and other fans about what I'm writing about Lexx.

Fanlisting

 photo lexxtm10050013.png  photo lexxts10050003.png

SAVE LEXX <-- what's happening with this blog.

I will NEVER ask for or accept donations to keep this site going. Ever.

Laptop screencaps used in not for profit blog episode and character reviews and film study at grandfortuna.xanga.com and lexxperience.blogspot.com Copyright Disclaimer Under Section 107 of the Copyright Act 1976, allowance is made for "fair use" for purposes such as criticism, comment, news reporting, teaching, scholarship, and research. Fair use is a use permitted by copyright statute that might otherwise be infringing. Non-profit, educational or personal use tips the balance in favor of fair use."

My screencaps are hosted at LexxPix. You are welcome to use my bandwidth to share these pix to other sites.

Join registered hashtags #Lexxperience, #Lexx, and mashtag #MerLexxian for real time twitter feed, photos, and videos.

Public hashtag #pblexxpix goes to a shared album in my photobucket. Anything on twitter, instagram, and photobucket labeled with this hashtag will automatically appear in this album as well. You are welcome to use my bandwidth to share these pix to other sites.

Lexx fans have permission to translate and copy my material to other fan sites and hotlink images from this blog.

dotcom disclaimer

Subscribe in a reader

Subscribe to GrandFortuna by Email

Site Meter

web stats

My first tracker was installed in 2004 and broke several times before moving to a new server, which lost a few months of stats, and then Xanga moved to new servers and I lost more stats for more months before the page came back up, so I've lost a total of about two years' worth of stats. The second was installed 2-22-14 and is considered very conservative by business owners who use analytics, which itself is very conservative, estimates being that roughly one third to one half of hits by real live people aren't even counted, most likely due to javascript discrepancies. Actual hits on several posts here are in the thousands now, and the Lexx Index in the ten thousands. I've got pingbacks turned off, so spam isn't counted at all within the Xanga internal tracker, and most direct post hits can be correlated to my real time linking activity on twitter and other social media. When I did Google Analytics beta testing I got to see how search engine performance compares to tracking. I believe live feed linking sources to various social medias are key to a future where search engines are more about performance than cataloging, which has been confirmed to me by coders who create bot algorithms as I was beta testing paper.li. I've fought hard through redundant age-old stacks to make my way to the google front lines again, so my Lexx work shows up faster on Chrome searches now. This has been a really interesting ride. At any rate, my point is, I can still go back 6 years on my original tracker and I can still see that in 2013 just before the last big blog server move, I was getting traffic like this (and since then, the tracker may have been abandoned, we can't tell). Click the thumbnail to see full size.

My original tracker also still lets me see the latest 500 visitors on a map. I once counted over 80 countries among the total visits. You guys are not alone. Click the map to see it better.

Besides Lexx, the most common search phrases that bring new visitors here are variations on 'huge spaceship'. The most seen post from a phrase search is How Big is the Lexx? My biggest Lexx referrer is Lexx Domain. Most of page views per person count comes from the Lexx tag on Tumblr. Visitors who stay the longest come through URLOpener and are pinged through the Google translator server in Mountain View, CA.

 photo vsmlett.gif

Lexx Index

 photo lexxheader.jpg

Lexxperience  photo lexxperienceheader2.jpg

Google+  photo Lexxhangoutpage.jpg

 photo syfydesignslogo.jpg

 photo revivalcomingsoon.jpg

 photo lexxboredbutton.jpg

 photo lexxzonelogo.jpg

 photo picbug_top.jpg

 photo isokuva.jpg

 photo norajean.jpg


 photo sadgeezer.jpg

 photo sfserieslogo.jpg

 photo nerdmovie.jpg

Google

Everything I have in this blog

Calendar

July 2016
S M T W T F S
« Jan    
 12
3456789
10111213141516
17181920212223
24252627282930
31